How to host one-page generated on the Flatlogic Platform applications on DigitalOcean
Creating Application
To get started working with GitHub, you need first to create an application on the Flatlogic Platform.
Working with GitHub
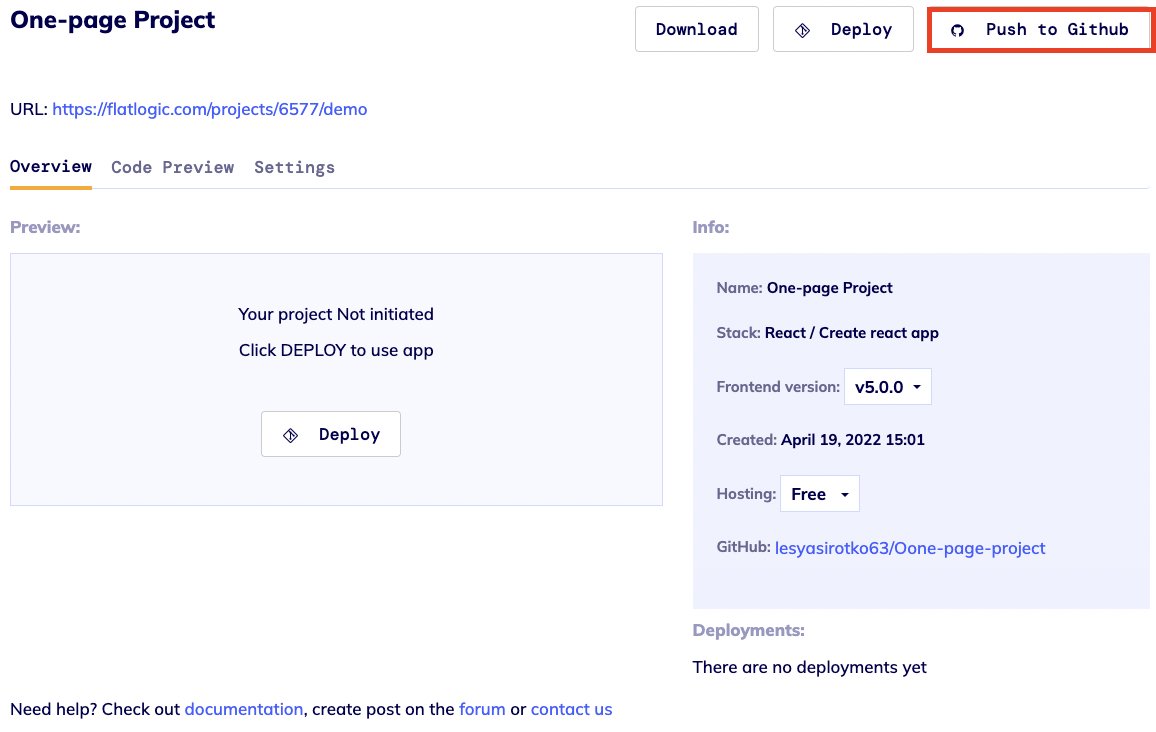
If you didn't connect the GitHub repository when you were creating the app, you can connect it in the Settings tab by clicking on the Push to GitHub button.
The ‘Login’ window opens next, where you need to enter login details for your GitHub account or sign in.
Next, the ‘Choose a name for your repository’ window opens, where you have to choose a name for your repository and select privacy terms.
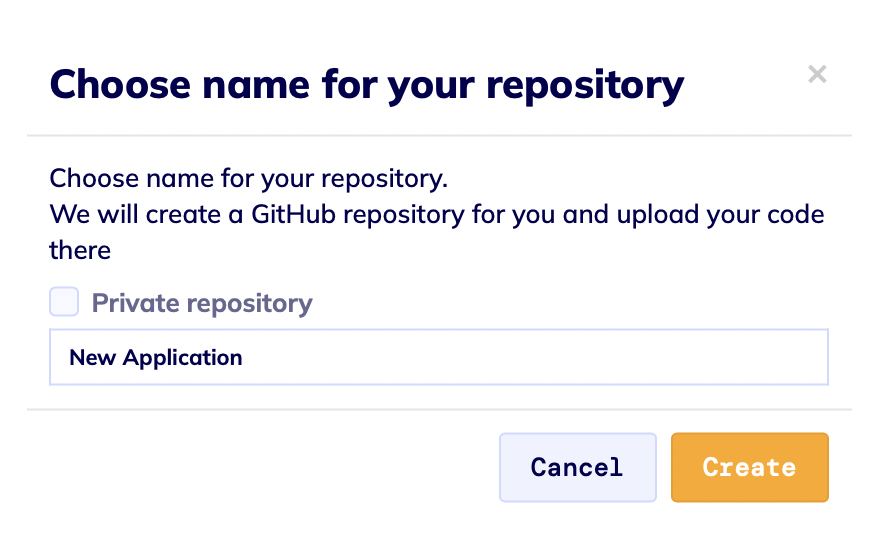
After this step, the Flatlogic Bot creates a GitHub repository for you and uploads your code there. Afterwards, you can work with the platform or with your GitHub repository.
Also, you can make changes to your code in your GitHub repository. But make sure you’re working on the right branch.
GitHub is connected to Flatlogic hosting, all deployments go directly from there. There are two branches: master & generated. Master - is for you to make changes directly in the source code. Generated is for Flatlogic Bot to make changes to the generated code. You can initiate a Flatlogic Bot commit by pressing on push to GitHub button after making changes to the app. After this, you need to create a pull request and merge generated branch into the master. It is better not to work with the Generated branch and leave it to Flatlogic Bot.
Working with DigitalOcean
To begin, log in to your DigitalOcean account and press the Create button, then select Apps.

Next, you will be redirected to the create app page, where in the first step you need to select GitHub as Resource.

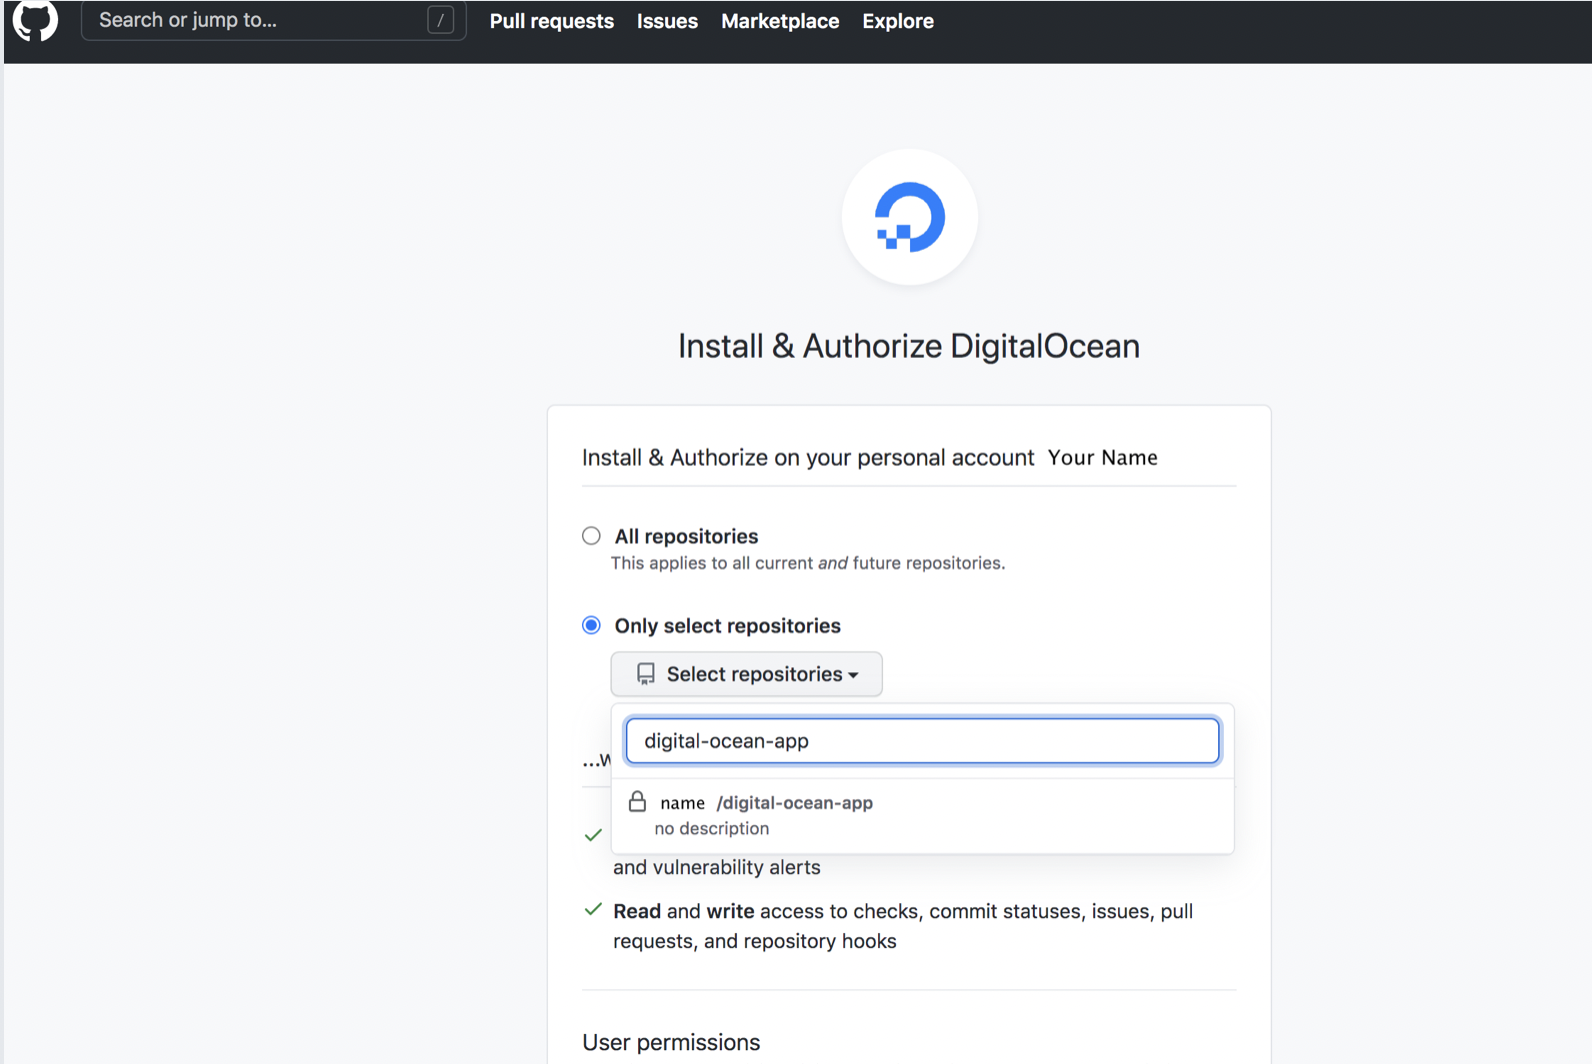
Next, you’ll be prompted to link your GitHub repository. If you have not yet connected it, you will need to log in with your username and password and give DigitalOcean authorization to access your repositories. Once you link your account, select the repository you’d like to connect on the GitHub authorization screen. In this case, you are using the digital-ocean-app repository, but you can connect more repositories if you would like.
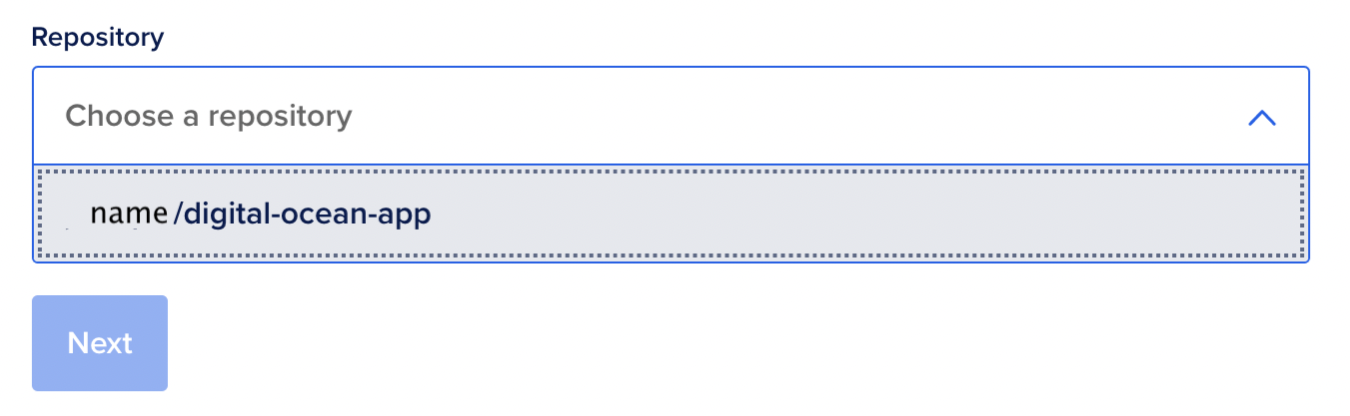
After selecting the repository, you will reconnect to the DigitalOcean interface. Select digital-ocean-app from the list of repositories, then press Next. This will connect your App directly to the GitHub repo.
Next, choose the master branch and source directory /frontend. For this tutorial, you are checking Autodeploy code changes. This will automatically rebuild your app every time you update the code.

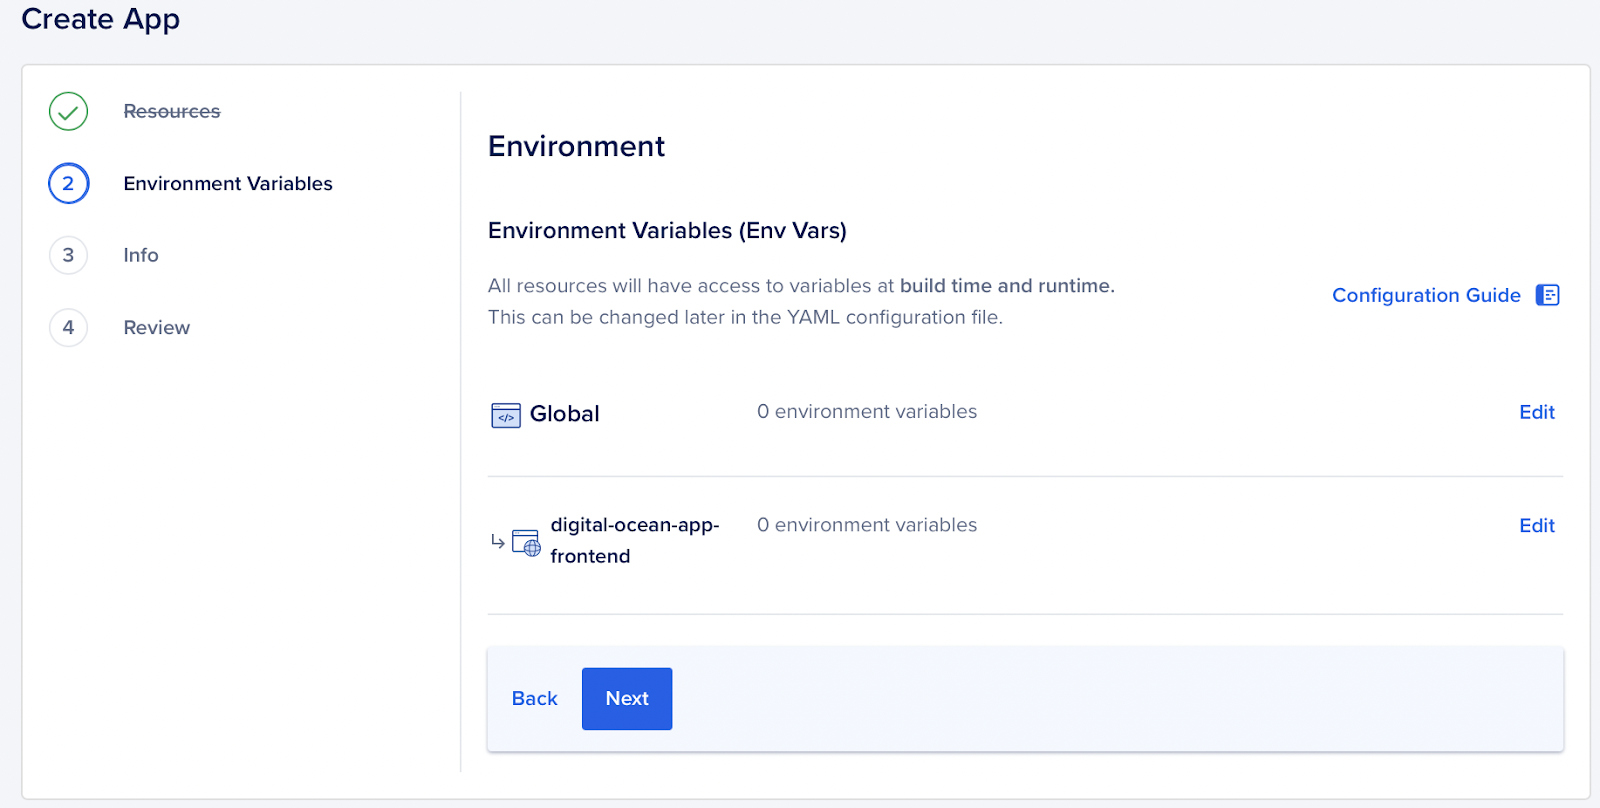
The second step is Choosing the Environment Variable. You can skip this step by clicking on the Next button.
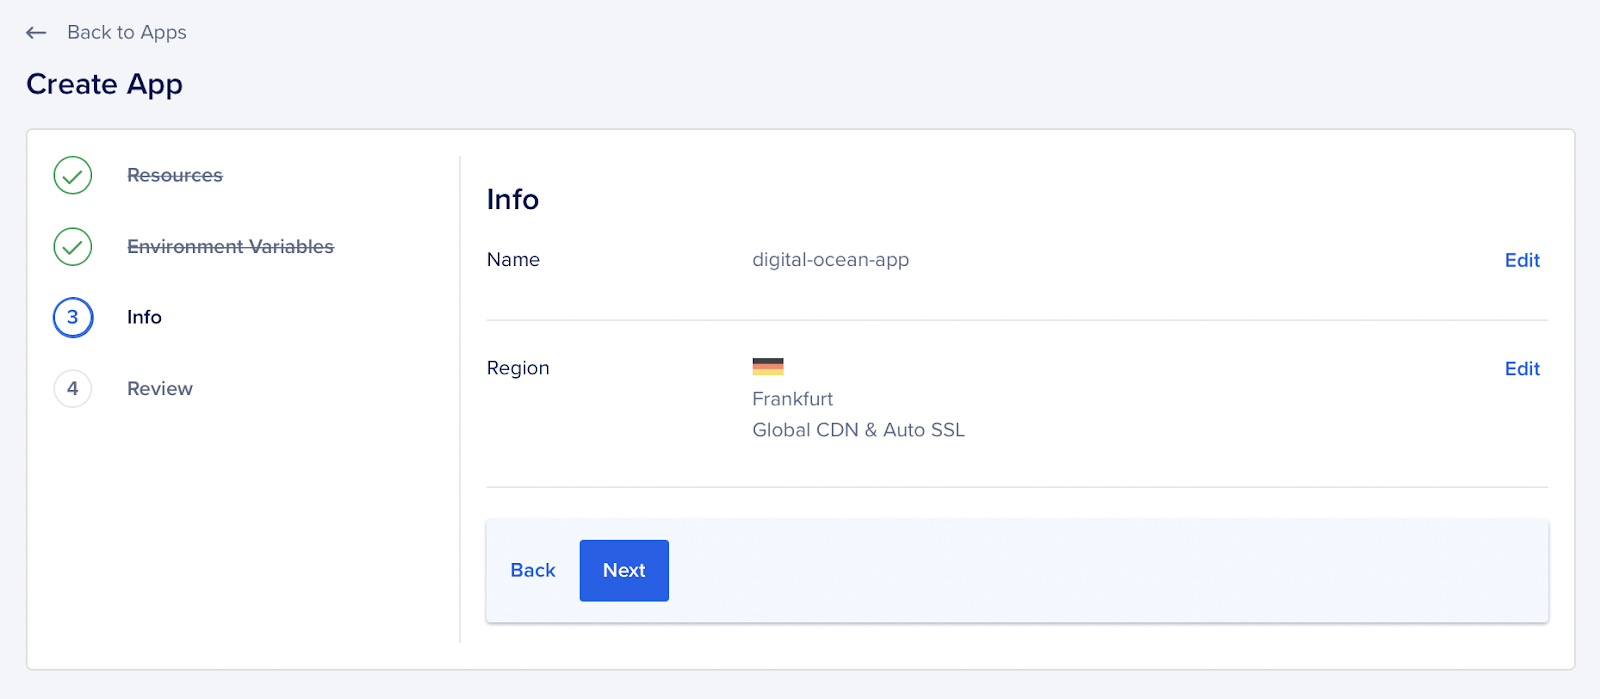
In the third step, you need to name your app and choose the region.
At the Review step check that everything is correct and click on Create Resources button and DigitalOcean will start building your application.

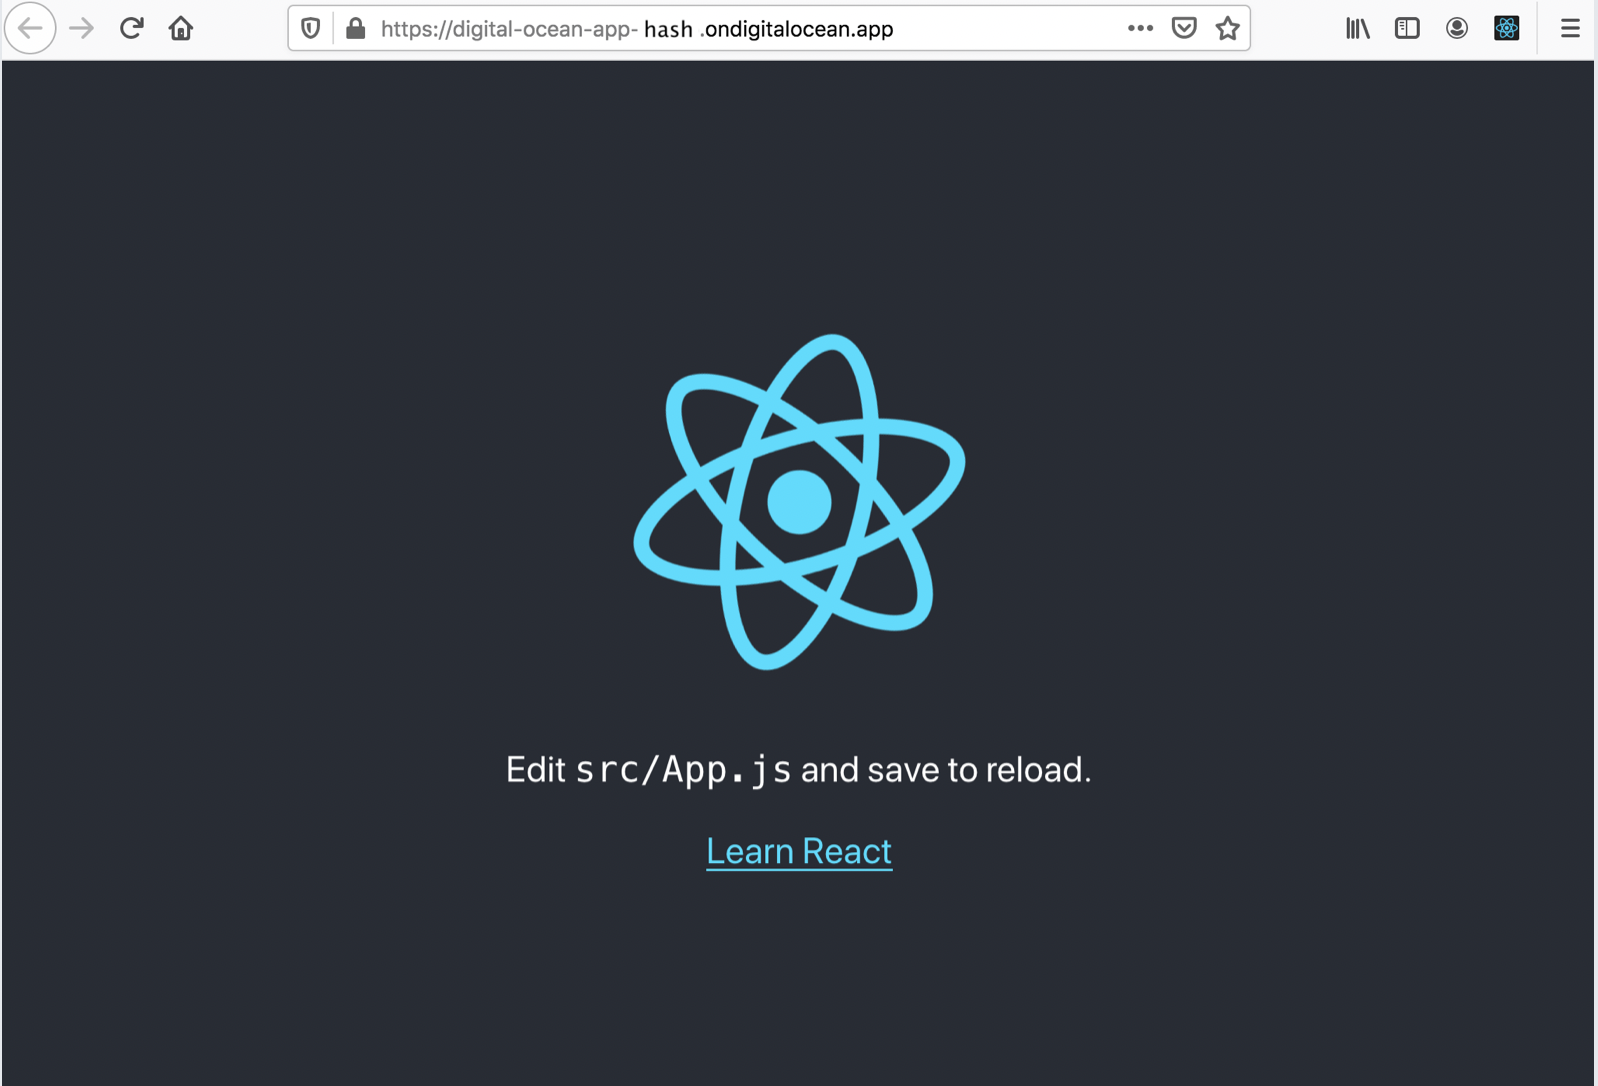
It will take a few minutes for the build to run, but when it is finished, you will receive a success message and a link to your new site.
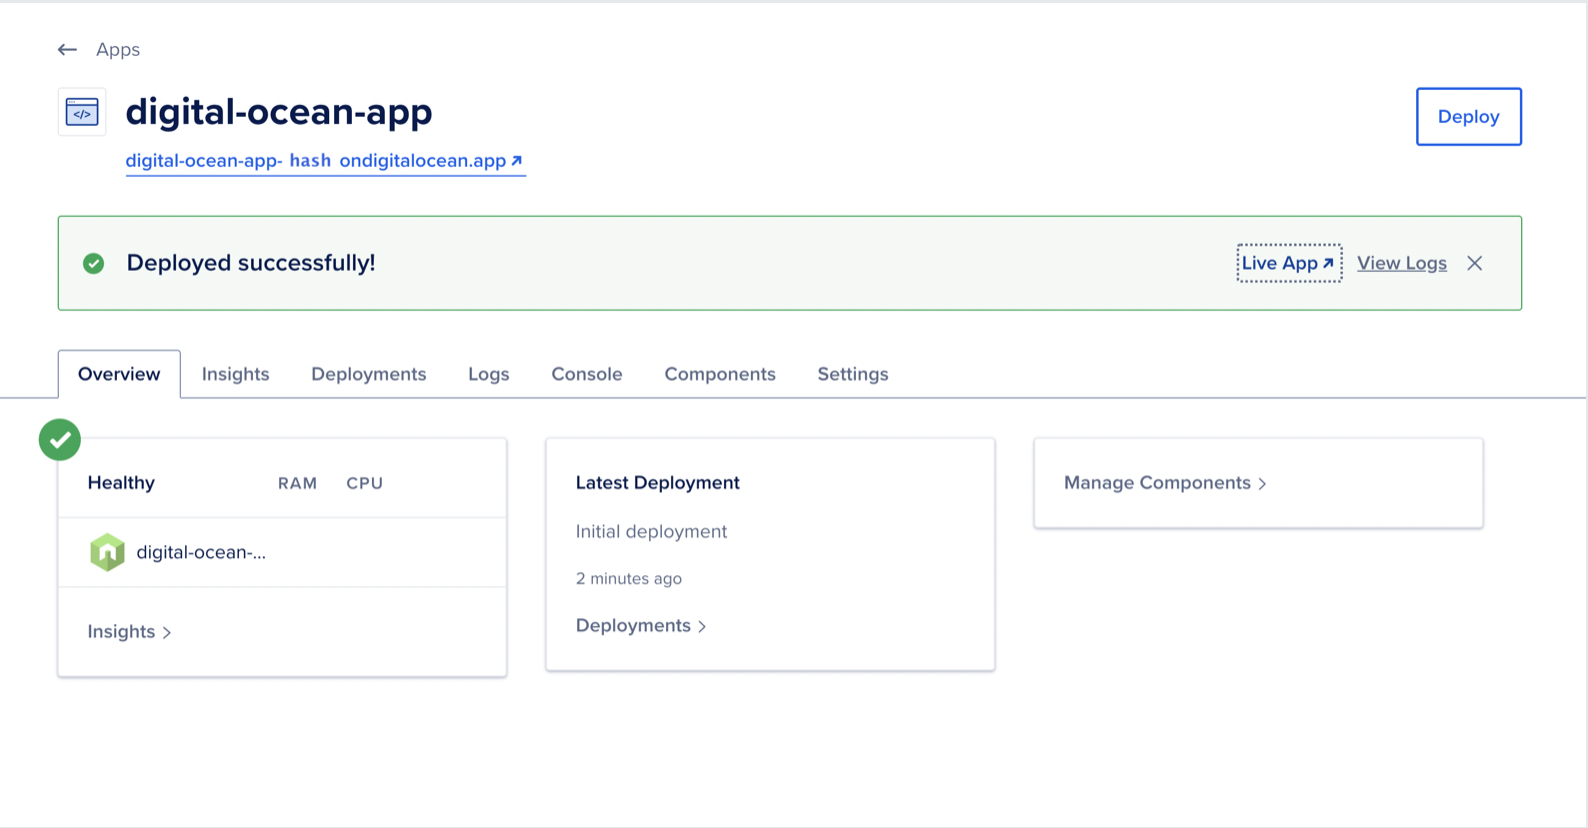
Press Live App to access your project in the browser. It will be the same as the project you tested locally, but this will be live on the web with a secure URL.