Create Schema
In this part, you will define the architecture of your business software, whether it's a CRM or E-commerce, or another type of application. You build a database schema i.e. tables and relationships between them. The schema forms the foundation of your application that the AI Engineer will use to create your solution. Here is a video example of how to work with the Schema Editor.
If you are not familiar with database design and it is difficult for you to understand what tables are, we have prepared several ready-made example schemas for common application types that you can build upon:
E-commerce app;
Time tracking app;
Books store;
Chat (messaging) app;
Blog.
These ready-made schemas are available in both the Free Community Templates and Paid Advanced Templates, though the advanced templates include more complex data structures and relationships.
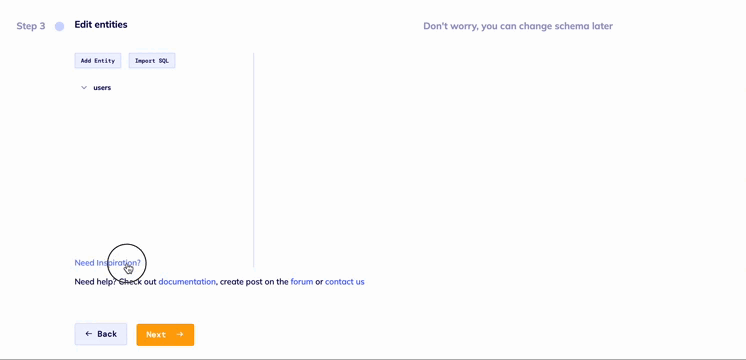
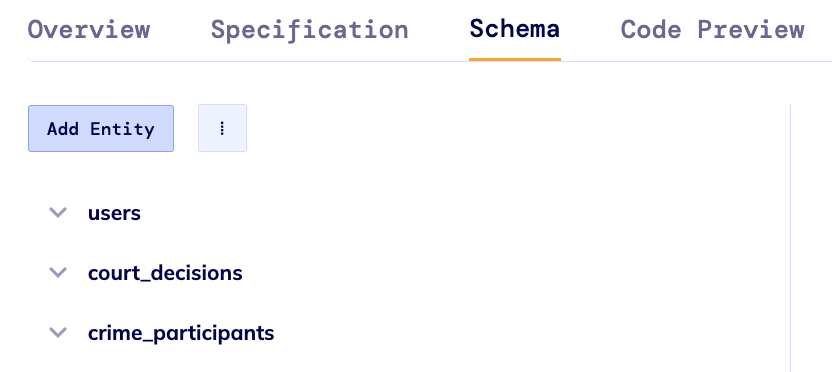
The basic essence of the Schema Editor is that it consists of tables and columns and your work will consist of working with them.
If you choose to build an application from scratch, then you see a button to add a table as well as a ready-made default table for Users (since users exist in most applications).
By clicking on the ready-made Users tab, you will see in front of you all the columns created in the table with their properties.
By default, your schema will include a Users table, since users exist in most applications. For Paid Advanced Templates, the schema also includes Roles and Permissions entities by default.
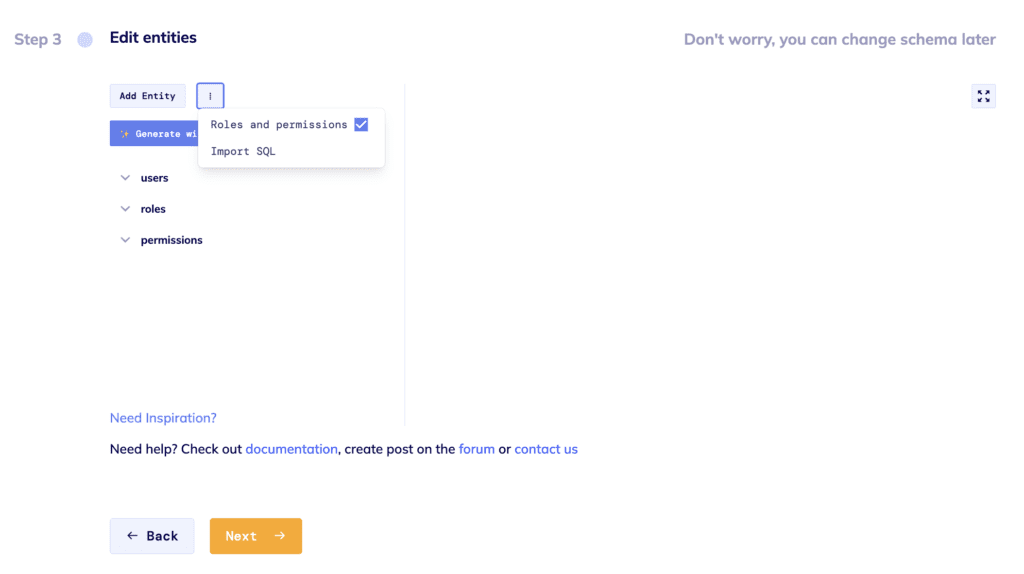
For more details about roles and permissions read here.
Working with tables
You have two main options when working with tables:
Add a new table: Click the '+ Add Entity' button to create a new table. You'll be prompted to choose a name for this table. Please follow SQL naming standards and use lowercase for better code generation.
Delete a table: Select the table you want to delete and click the 'Destroy Table' button. Note that the 'Users' table cannot be deleted.
Working with columns
For each table, you can:
- Add a column: Click on the table and then click the '+ Add Column' button. In the Edit column window, you'll need to specify:
- Name: The database column name (use camelCase, numbers, and "_")
- Title: The display name shown in your application
- Type: The data type for this column
- Edit a column: Click on a column to access the 'Edit Column' menu where you can modify its properties.
- Delete a column: Select the column and click the 'Destroy' button.
Note: Our generator adds the column ID itself and makes the connection if necessary: you don't need to add the column ID yourself.
Column Types
The following types are offered to choose from:
String - when you select this type, you have a unique Multiline option that adds multiple lines;
Boolean - when choosing this type, you need to set the value to True or False;
Date Time;
Decimal;
Integer;
Enumeration - Enumerated column type: to select this data type you need to select the column to which you want to assign it, and in the right ‘Edit Column’ window select ‘Type’ – ‘Enumeration’, then you will have the 'Options' field in which you will need to list the options for selection, as well as ‘Widget’ type for selecting options – select or radio button.
Date;
Images;
Relation (one) - Relation to one column: to make a relation to one column you have to select it in the list of columns in the table, go to the ‘Type’ property and choose the ‘Relation (one)’ option. After that you will see a new property Entity - the link to the table this column will be connected to.
Relation (many) - Relation to multiple columns: to make a relation to many columns you have to select it in the list of columns in the table, go to the ‘Type’ property, and choose ‘Relation (many)’ options. After that you will see a new property Ref – the link to the table this column will be connected to.
- editing column: to change a created column click on it, and the right side of the modal window, you will see the ‘Edit Column’ menu, where you will see the properties that you can change. In editing a column, it is possible to change only the name, title, show in form, and show in table. Please use camel case, numbers, and “_” for column names.
Note: The column name cannot start with a number. Also, there cannot be the same-named columns in one table.
- deleting column: Deleting a column is done by selecting the column you want to delete and pressing the 'Destroy' button. The column should be deleted immediately. You cannot delete the last column in the table.
Advanced Features in Paid Templates
The Paid Advanced Templates include additional schema capabilities:
- Roles and Permissions: Comprehensive user access control system
- Multi-tenancy support: Isolate data between different organizations
- Advanced relationships: More sophisticated data modeling options
Version Control for Schemas
As you work with the AI Engineer to refine your schema, each significant change creates a checkpoint in the version control system. This allows you to:
- Roll back to previous schema versions if needed
- Track the evolution of your application structure
- Safely experiment with different data models
Moving Forward
After finalizing your schema, you can proceed to the next steps where the AI Engineer will help you define user interfaces for your entities, set up business logic and workflows, or configure integrations with external services.
Your application will be deployed to the Development Environment, where you can continue refining it before syncing to the Stable Environment for production use.
Note: Before making your application, we advise you to first think over its basic architecture, and maybe even draw a database relations diagram. This will make it easier for you to generate the application without having to modify it later.