How to host one-page generated on the Flatlogic Platform applications on AWS
Application Development
Tap here and let’s go!
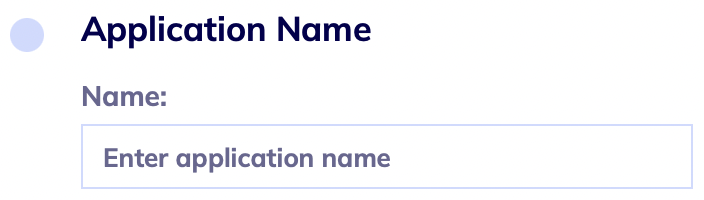
First of all, you need to set up the name of your application.
Next, you need to choose the Stack: Frontend, No-Backend and go to the next step.

Next, you’re choosing the starter template.

Next, you can connect your GIT repository for further work with it, or skip this step and 'Finish and Deploy' your Project.
If you click on GitHub the ‘Login’ window opens next, where you need to enter login details for your GitHub account or sign in. Next, the ‘Choose a name for your repository’ window opens, where you have to choose a name for your repository and select privacy terms.

Afterwards, you will be redirected to the settings of your application.

Working with GitHub
If you didn't connect the GitHub repository when you were creating the app, you can connect it in the Settings tab by clicking on Push to GitHub button.

The ‘Login’ window opens next, where you need to enter login details for your GitHub account or sign in.
Next, the ‘Choose a name for your repository’ window opens, where you have to choose a name for your repository and select privacy terms.

After this step, the Flatlogic Bot creates a GitHub repository for you and uploads your code there. Afterwards, you can work with the platform or with your GitHub repository.
Also, you can make changes to your code in your GitHub repository. But make sure you’re working on the right bench.
GitHub is connected to Flatlogic hosting, all deployments go directly from there. There are two branches: master & generated. Master - is for you to make changes directly in the source code. Generated is for Flatlogic Bot to make changes to the generated code. You can initiate a Flatlogic Bot commit by pressing on push to GitHub button after making changes to the app. After this, you need to create a pull request and merge generated branch into the master. It is better not to work with the Generated branch and leave it to Flatlogic Bot.
Working with AWS
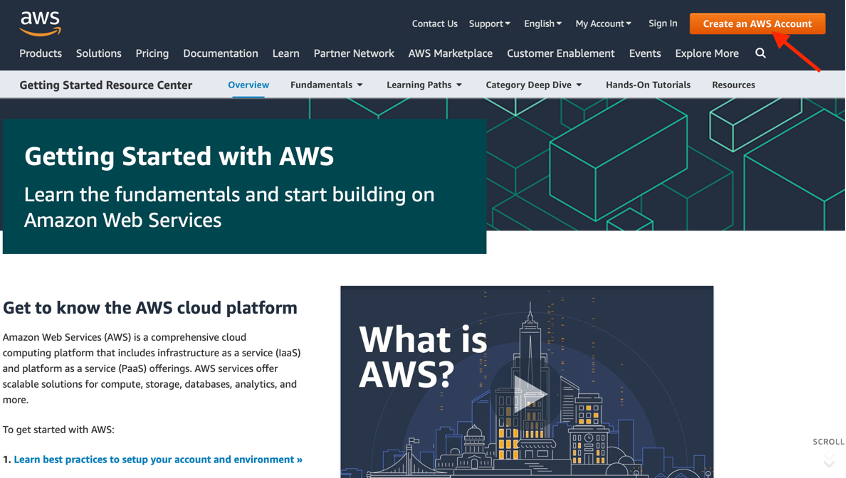
To deploy this template to AWS hosting, for it to be available in the public domain, you need to create an AWS account (https://aws.amazon.com/getting-started/?nc1=h_ls).
Click on Create an AWS Account on the main page.
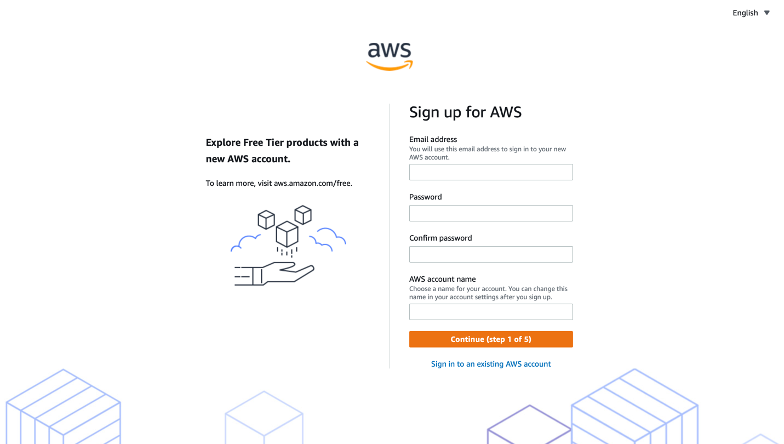
Fill out all fields on the sign-up page: contact information, payment information, identity verification, support plan and confirmation.

After registration personalizes your AWS Experience and submits it, also you can skip this step. Next click on Sign In to the Console.
Next, choose AWS Amplify.
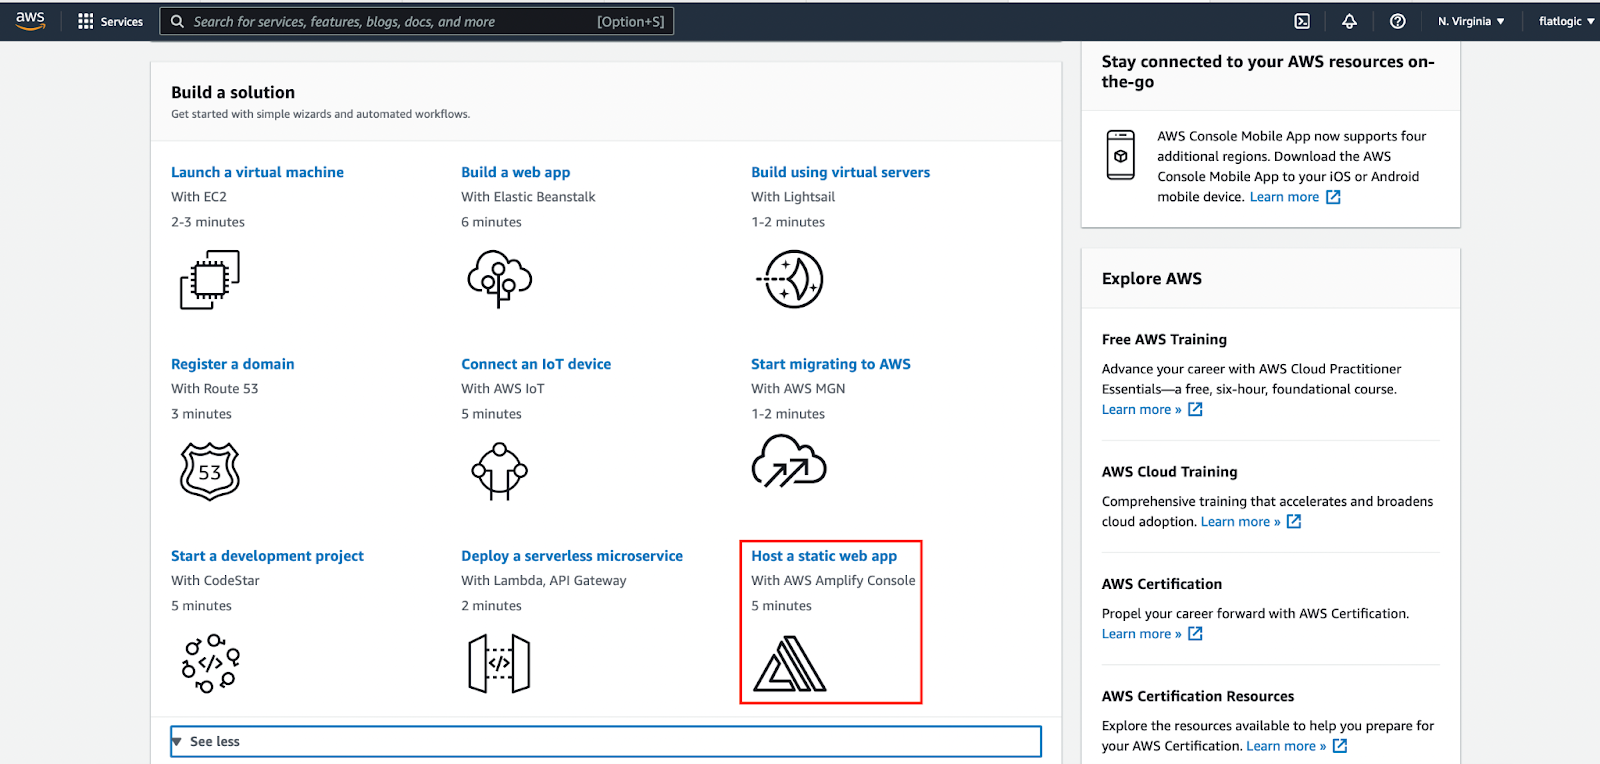
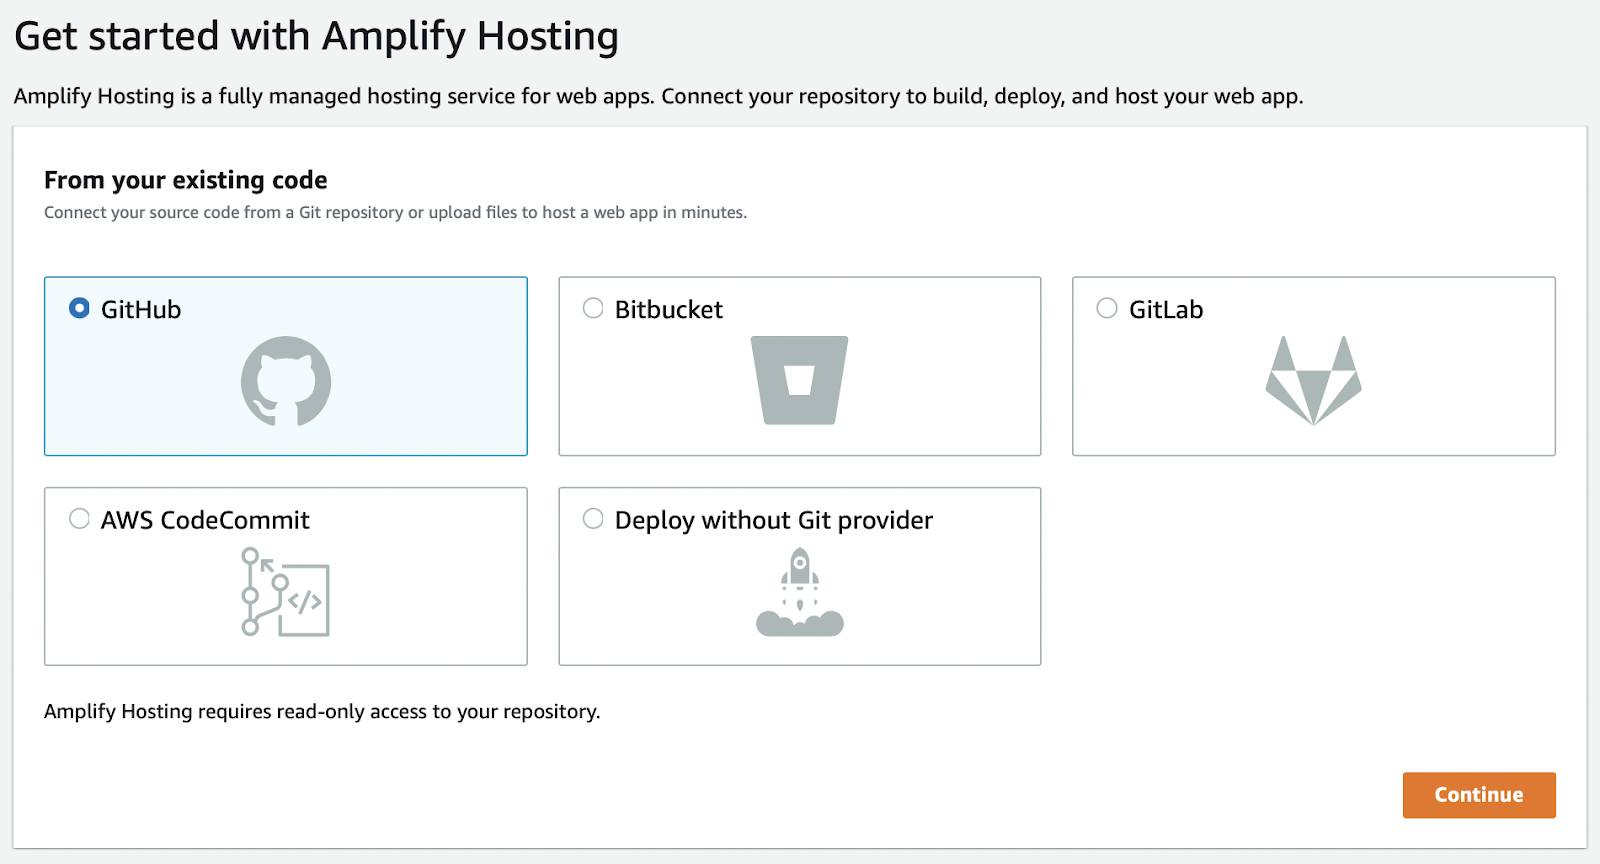
Afterwards, you will be redirected to the Get started with Amplify Hosting page, where you need to choose GitHub.
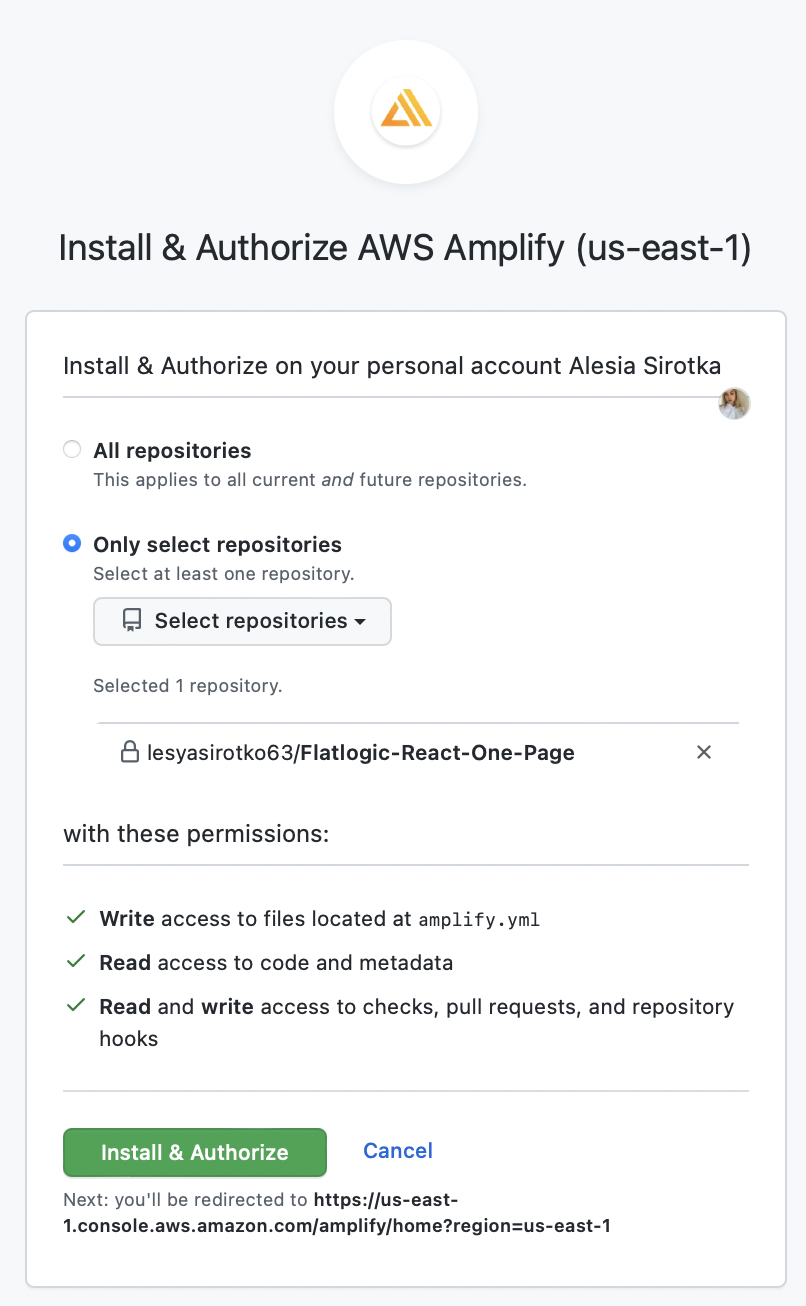
Then the authorization on the GitHub window opens, please click on the Authorize AWS Amplify green button, next, select the permission to your GitHub repositories (all or only), and click on Install & Authorize.

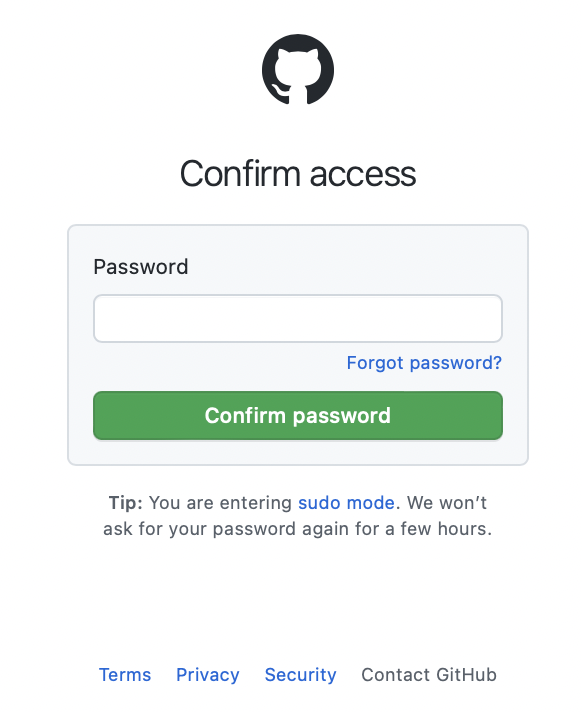
Confirm access by confirming your GitHub password.
Next, you will be redirected to the first step of hosting your application which is Add repository branch. Select your application GitHub repository and go Next.
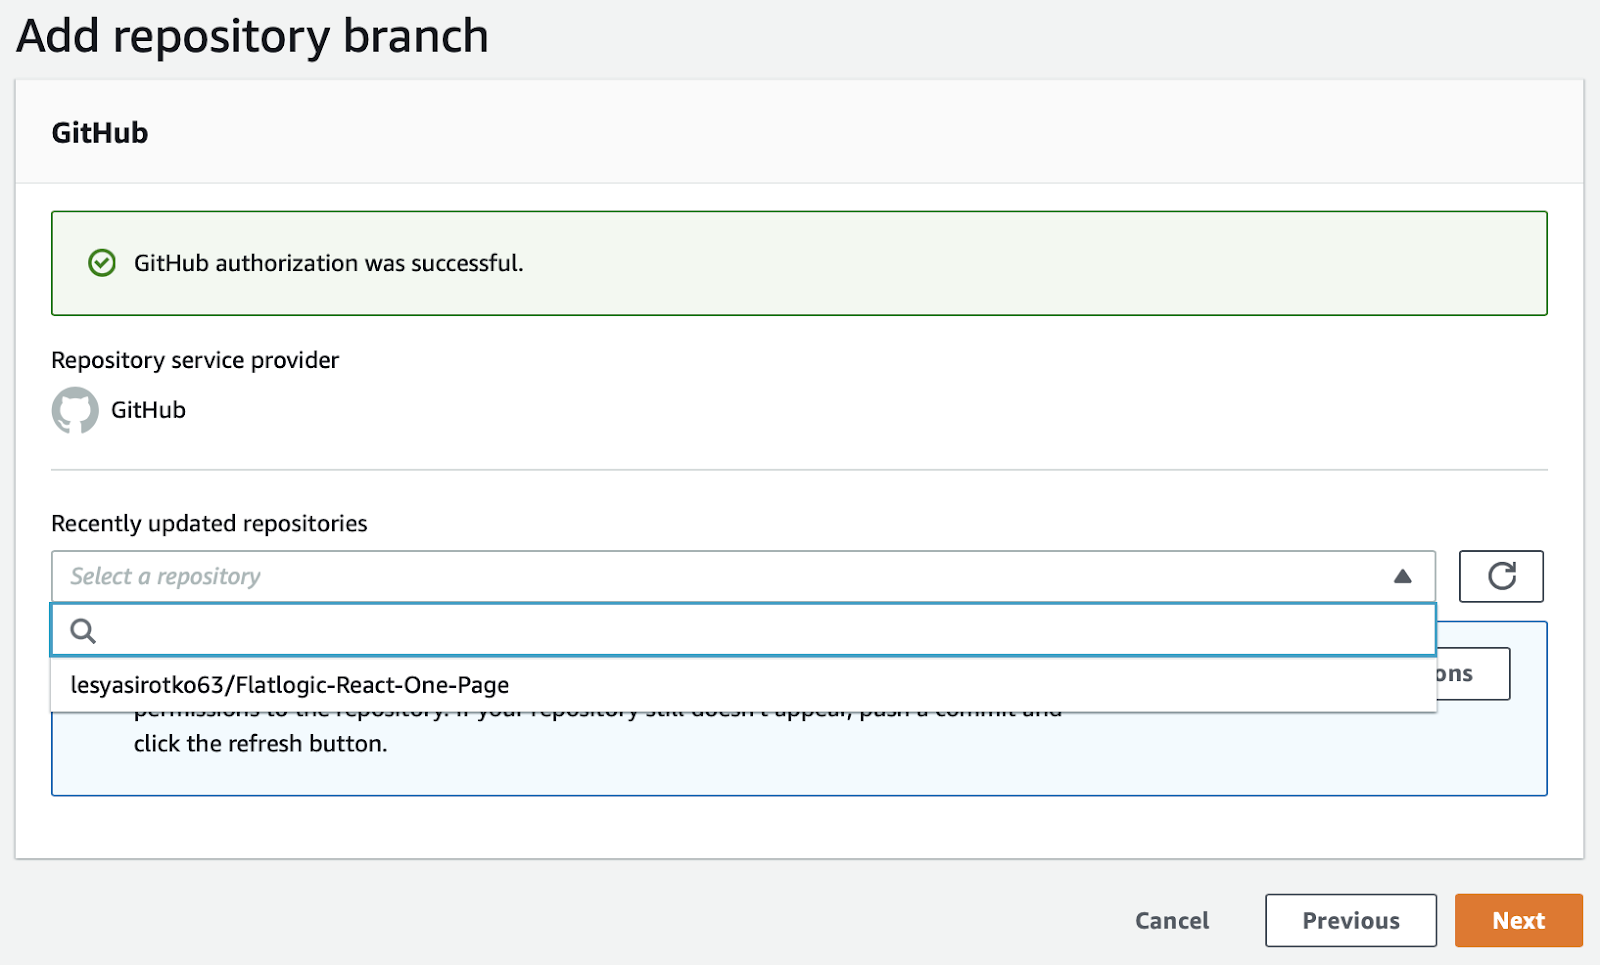
Next, select the brach as master and in the Connecting a monorepo section, check the box, and write the folder name – frontend and go Next.

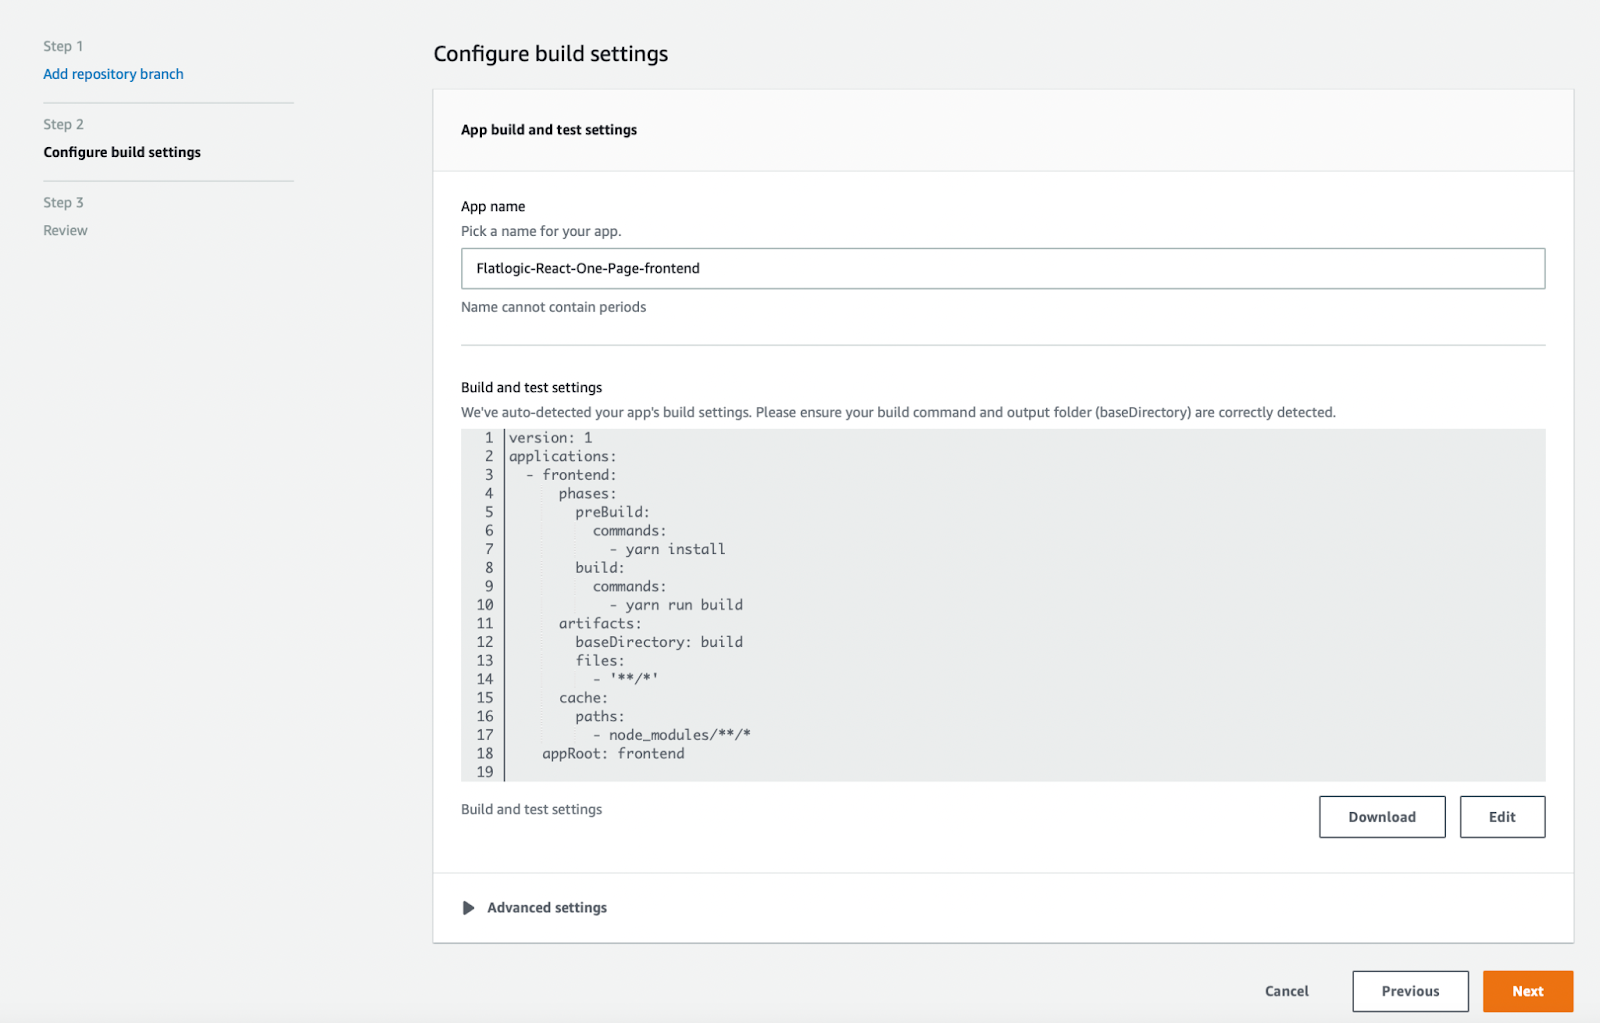
The next step is to Configure build settings, just skip it and go Next.
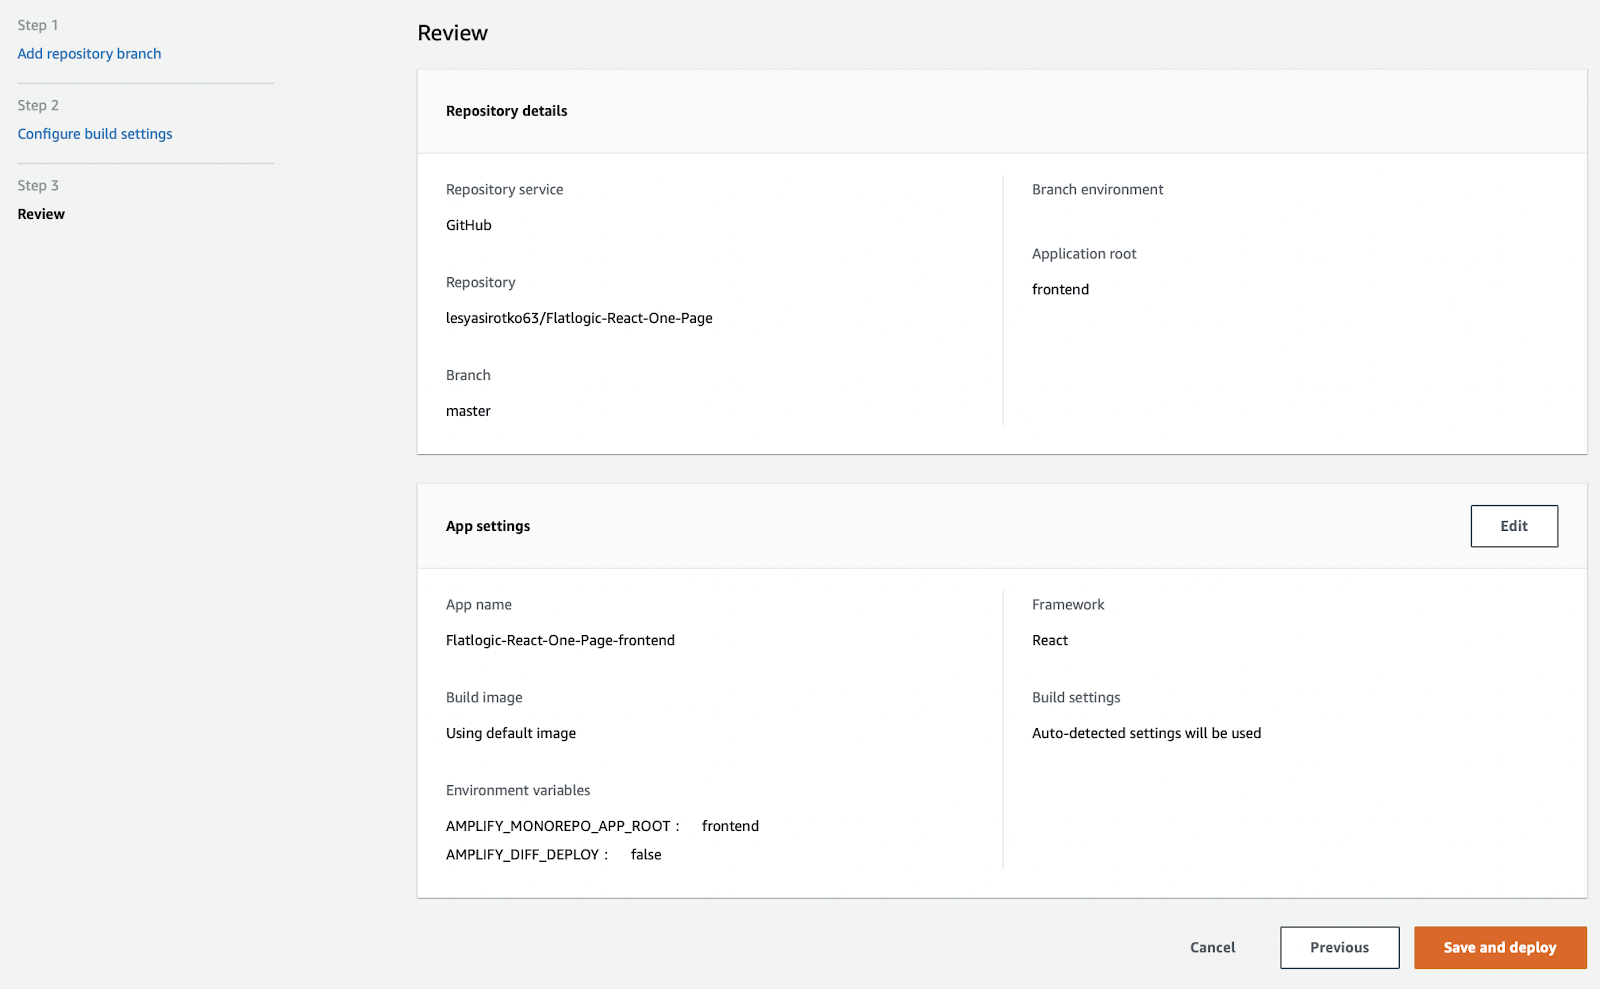
The final step is Review, here you can see all details and settings of your application, you also can skip it and click on Save and Deploy.
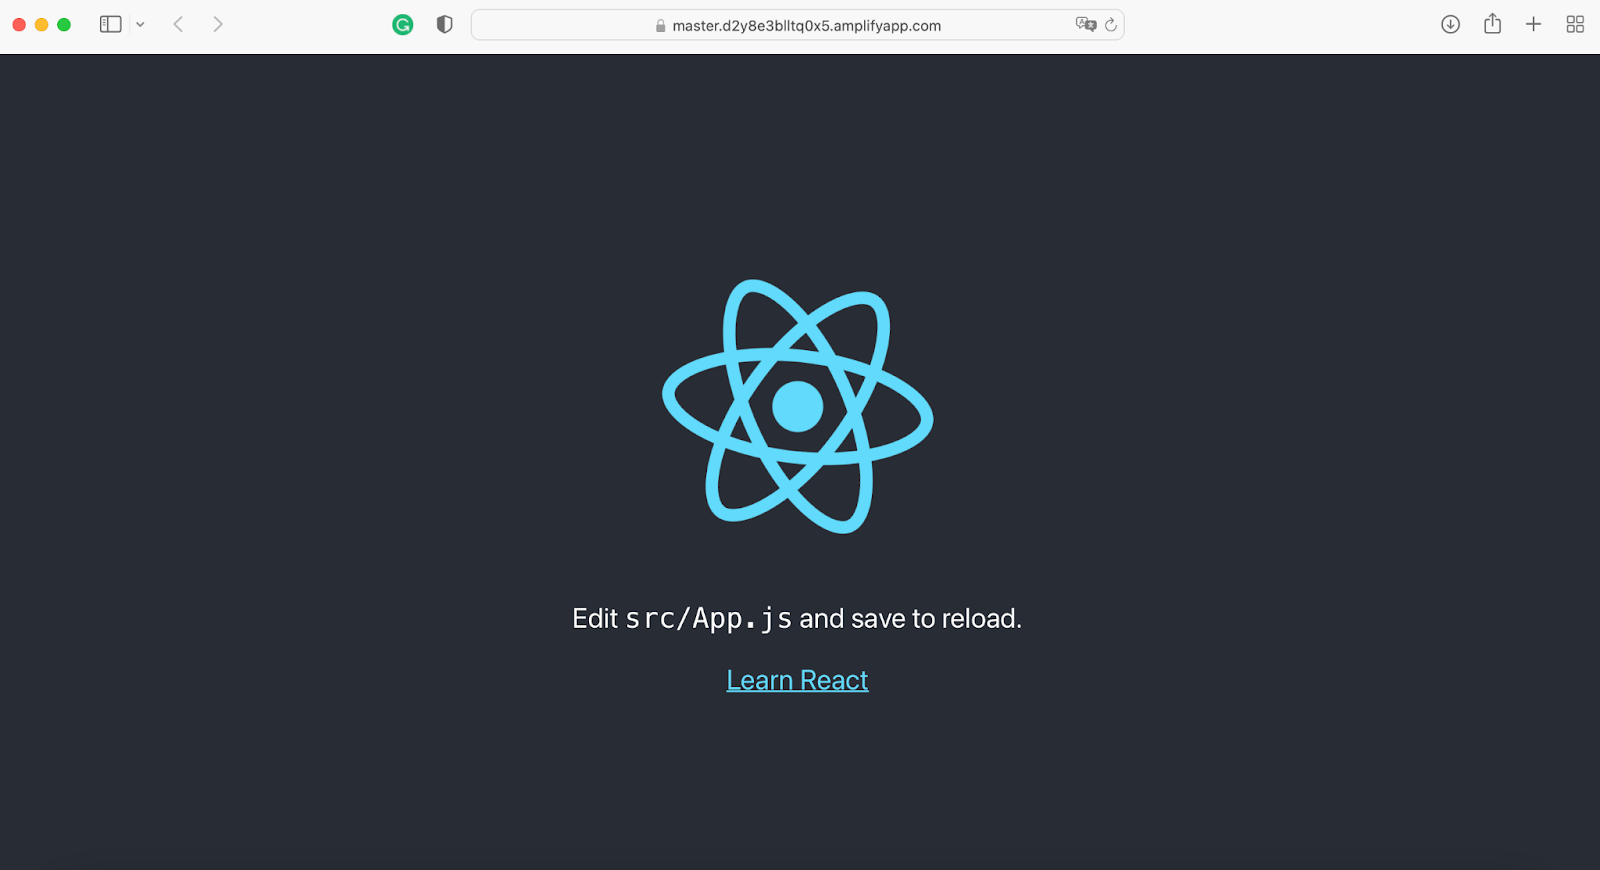
Next, you will be redirected to your application's deployment page, where you can see how your application is created step by step. When all steps are green please click on the image of the website window.


Finally, here is your hosted application!