Text-To-App Development
Now you can enter a text description to specify the functionality and features you need in the first step of creating your business software. Next, Flatlogic Generator will convert this description into a fully functional business web application.
Step 1 – Enter Name & Description
For the first step, please set your project's name and describe the business application you want to create. You also can use the ready-made descriptions, and extend them according to your needs: CRM, ERP, E-Commerce, Event Management, and Online Learning.
After you have filled out all the information please click on Generate your app! button. The schema for your application will be generated in a minute.

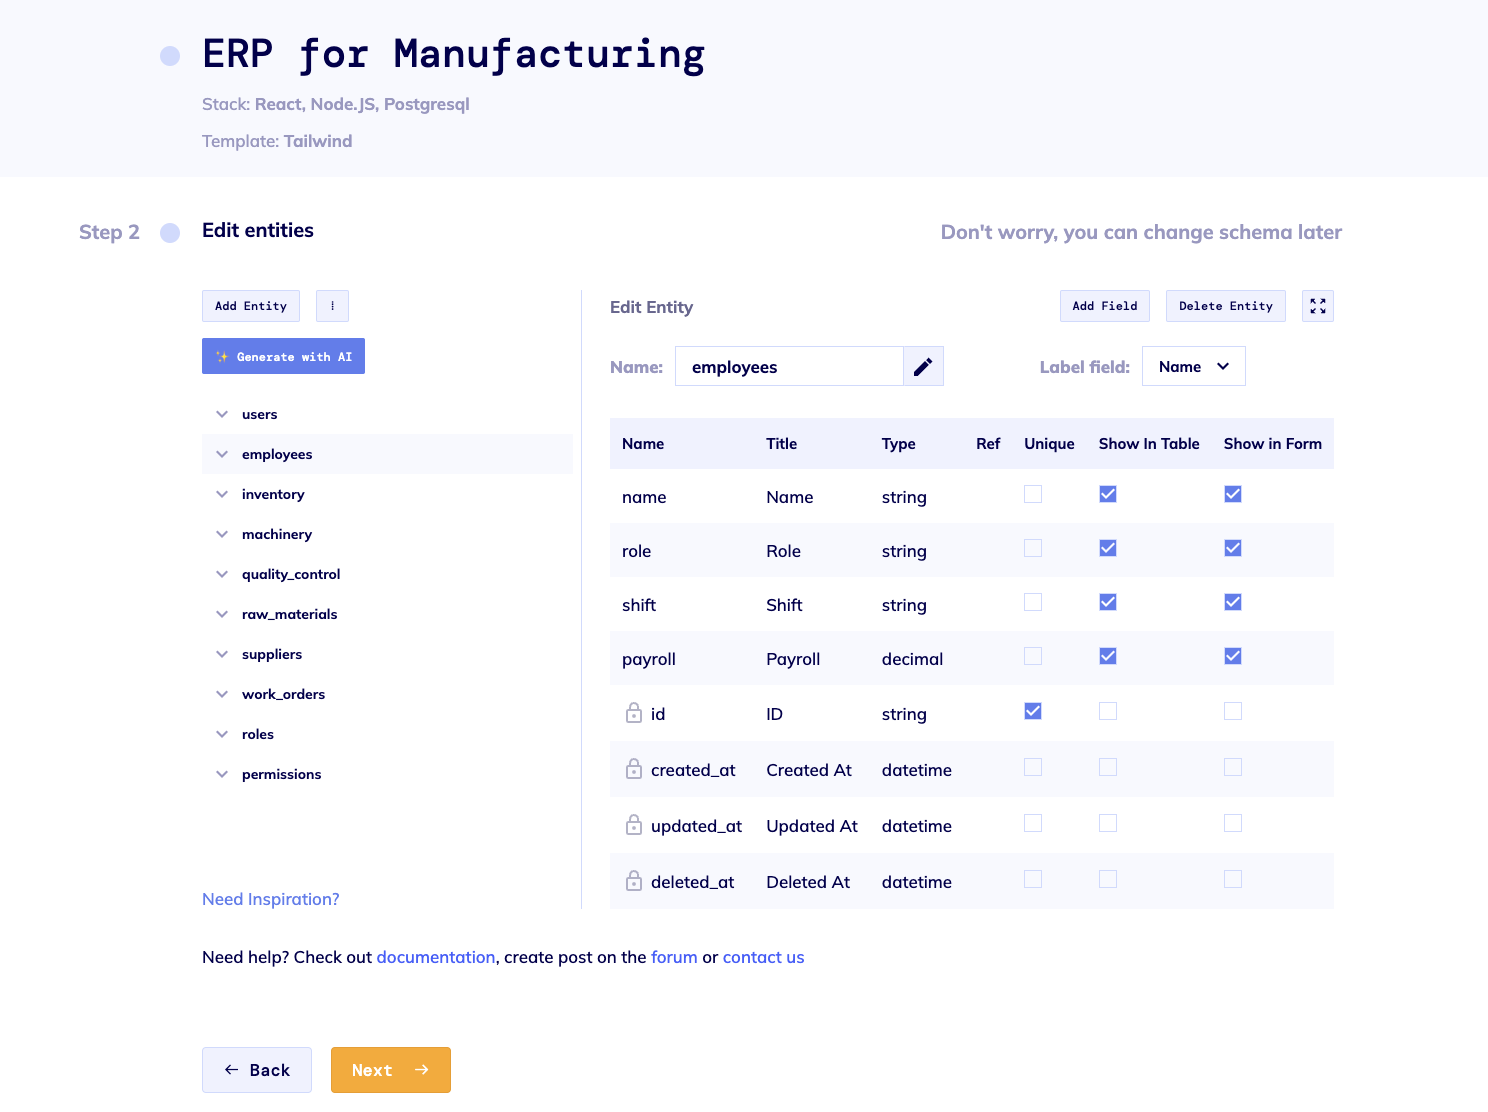
Step 2 – Editing Generated Schema
After the schema is generated you can edit or delete it and import your schema.

After editing your application click the Next button to proceed to the next text.
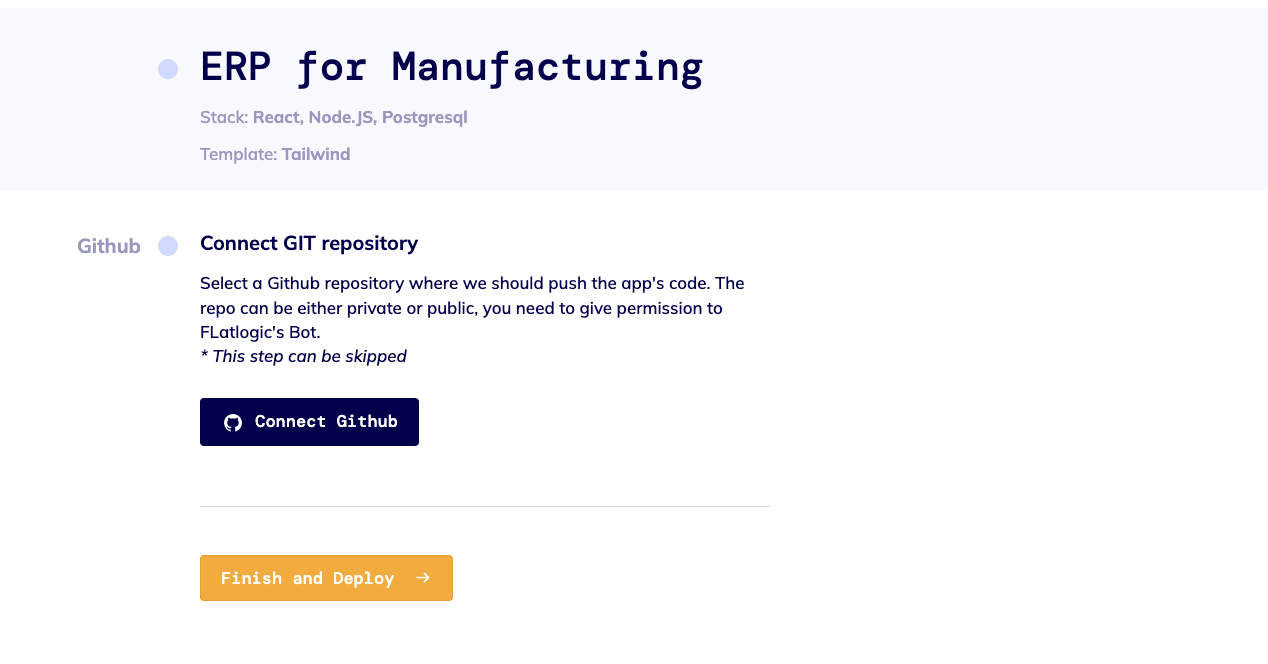
Step 3 – Connect GIT repository
At this step, you can connect to your GIT repository to continue working with it, or you can skip this step and Finish and Deploy your project.
Clicking on GitHub will bring up the Login window, where you will need to enter your GitHub account credentials or sign in. Next, the "Choose a name for your repository" window will open, asking you to choose a name for your repository and to select your privacy settings.

After this step, the Flatlogic bot will create a GitHub repository for you and upload your code to it. After that you can start working with the platform and your GitHub repository.
More detailed guides to working with Git: Pushing to GitHub and Working with Git Repository.
After clicking the Finish and Deploy button you will be redirected to your application settings where your application will be generated in a few minutes.
