TL;DR
- CRM demand is rising; custom builds align to unique workflows and KPIs across industries.
- Step-by-step React + Node.js CRM using create-react-app, Material UI, and components like ContentTable, Modal, DetailsCard.
- GraphQL backend via Canonic and Apollo; implement Notes, Deals, and Tickets (Asana) with mutations and API calls.
- Trade-offs: control and integrations vs higher time, cost, maintenance, and deep React/Node expertise.
Fact Box
- Global CRM market to reach $145.79B by 2029 (from $63.91B in 2022), CAGR 12.5%. Source
- UI built with React (create-react-app) and Material UI, including a paginated ContentTable and a Modal.
- Backend is cloned from Canonic and integrated via GraphQL using Apollo Client.
- Notes, Deals, and Tickets features added; Tickets create tasks via Asana API POST requests.
- Components created: ContentTable, Modal, DetailsCard, Notes, Deals, Tickets, Header.
If you still believe a CRM is an optional luxury rather than a business necessity, you’re overlooking a critical opportunity to scale and succeed.
Have you wondered why leading companies swear by Customer Relationship Management (CRM) solutions? Curious about exactly how a CRM can simplify your client management, or unsure if investing in one truly pays off? Maybe you’re asking yourself if building your own CRM from scratch is even feasible. As legendary business strategist Peter Drucker famously said, “What gets measured gets improved.”
In today’s fiercely competitive business environment, relying on outdated methods like paper-based reporting or fragmented client management isn’t just inefficient, it’s dangerous. Recent market studies indicate the global CRM market is rapidly expanding, projected to reach $145.79 billion by 2029, up from $63.91 billion in 2022, reflecting an annual growth rate of 12.5%. These figures underline how integral CRM systems have become in managing client relationships, tracking sales performance, and scaling businesses effectively.
At Flatlogic, we’ve spent over a decade building robust business applications, including highly effective CRMs powered by React and Material UI. Our hands-on experience and numerous successful deployments allow us to clearly demonstrate how creating a tailored CRM solution significantly boosts efficiency, enhances client engagement, and drives measurable profit growth.
By reading this article, you’ll discover precisely why CRM systems are essential for business success, explore detailed insights into the benefits of React-based CRMs, and gain step-by-step guidance on building your own React CRM application from scratch using Material UI. Ultimately, you’ll be fully equipped to make informed decisions that drive real, sustainable growth in your business.d Node.js
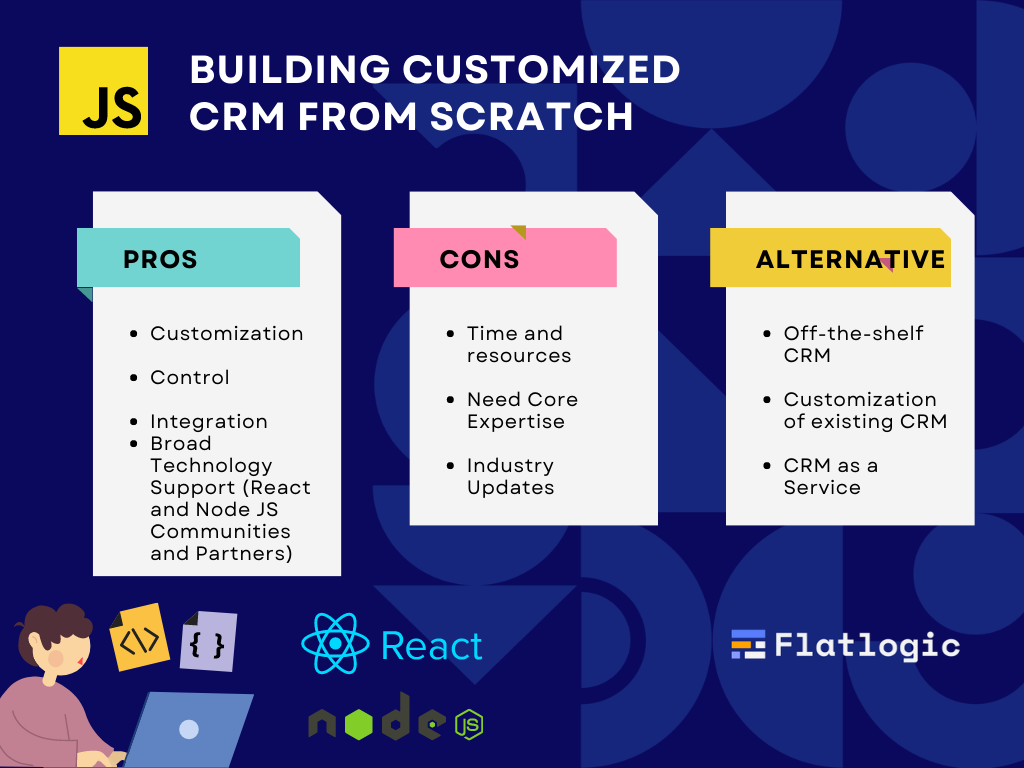
Pros and Cons of Developing Your Own React or Node.js CRM System
CRM allows you to automate routine processes and monitor the number of customers at each sale funnel stage. The tool also helps to keep track of how many leads come in, how many of them are converted into customers, how fast they move to purchase, and where they get stuck. This kind of business software is indispensable in managing customer relationships and optimizing sales strategies effectively.
This data helps improve the funnel, timely troubleshooting, and retention of potential customers. Therefore, developing CRM systems are used by hotels, travel agencies, beauty salons, online stores, real estate agencies, restaurants, and other representatives of large, medium, and small businesses or some start-ups.

Today on the market, there are dozens of different CRM systems available to choose from. However, some businesses may decide to build their own customized CRM system from scratch, using tools such as React.
Pros:
- Customization: Building a CRM with React and Node.JS allows you to tailor the system to your business’s specific needs and processes.
- Control: With a custom CRM, you have complete control over the features and functionality of the system.
- Integration: A custom CRM can be easily integrated with other systems and tools your business uses.
Cons:
- Time and resources: Developing a CRM from scratch can be a time-consuming and resource-intensive process.
- Expertise: Building a CRM requires a high level of knowledge in technologies such as React and Node.js.
- Maintenance: A custom CRM will require ongoing maintenance and updates to keep it running smoothly.
- Cost: Developing a CRM from scratch can be more expensive than purchasing an off-the-shelf solution.
And since each area’s tasks differ, there are CRMs explicitly designed for real estate agencies, fitness clubs, medical centers, social networks, stores, etc. In addition, they provide extra functionality and differ in cost. So use the following recommendations to choose the most appropriate CRM development idea for your business.
📌 Analyze the features and tools available in CRM. Look at what areas of business they are designed for, how they differ, and what tasks help solve. Make sure that the chosen CRM system will allow you to track the necessary statistics and analyze the effectiveness of your work.
📌 Study the prepared solutions. Look at the features that the CRM system offers within each tariff plan. Pay attention to the trial plan, which will help you try out the functionality. Moreover, some companies like ThemeForest, Envato, or Flatlogic offer free templates and techniques that can cover basic business needs.
📌 Look at the communication channels available. For example, if you use telephony, ensure it can connect to your customized CRM. The same goes for other customer communication tools.
📌 Evaluate the interface. See how easy it is to understand it, how you can manage the functionality, what information is stored in the product cards, etc. It allows you to choose the most convenient CRM system.
In addition, pay attention to the available integrations. Find out how many managers can be connected and the possibilities for teamwork. If you start working with a CRM, you need to know how to create a CRM system using any tool and get free React UI templates immediately.
Using React.js and Node.js to Give Your Customized CRM a New “Face”
The React library is used to create complex and layered user interfaces. Sometimes it is put on par with full-fledged frameworks, including the popular Angular, which is not entirely correct. This solution does not allow users to work with routing, managing states, and web requests. React is only a library and draws certain elements, which is both a virtue and a disadvantage.
On the one hand, the solution lacks the full functionality and set of tools of traditional frameworks. Still, on the other hand, the developers can use any convenience for their toolkits and are not limited by frameworks. Thus, this flexibility makes it easier for developers to use suitable methods and tools.

React.js supports working with the JavaScript JSX syntax extension, which looks very similar to HTML syntax. The technology resembles a LEGO constructor, where each part is a separate piece of code, namely, a component.
These components are easy enough to use and assemble even into complex interfaces, and repeatedly use, test, and maintain them in the future. Thanks to it, CRM development and the creation of customized dashboards with Node.js are greatly simplified, and the finished product gets high performance.
Ultimate Guide for Creating Customized CRM System from Scratch in 3 Steps
Want to know how to create a responsive React template but can’t find a clear and understandable guide to help you do it? Now you can sigh with relief because it is in front of you. After reading this article, it won’t be challenging to create a CRM dashboard for reporting as an example. But that’s not the only good news for you today. If at any stage something goes wrong, you can safely contact the experts of the consulting service Howly, which solves user problems remotely 24/7. But now, let’s move on to the main point.
Step 1. Where Does Customized CRM Start: Research and Idea Verification
Before buying the best React.js templates, you should thoroughly research and test your ideas concerning creating a custom CRM application. So first, let’s understand what you should consider at this stage. Here we mean your business type, niche, target audience, customer relationship goals, and basic management requirements. All of these points will help you do the proper research on your core idea.
The goal, however, is to develop a specific set of requirements or solutions you’re looking for in your custom CRM application. Need some examples? It could increase customer satisfaction, engagement, retention, or client lifecycle value. Of course, you can pursue all these goals, but the main one is getting a set of clearly defined features that you want from React. js web app or CRM development process like in our article.
Step 2. How to Create a React Business Template: Do a Market Analysis
If you want to create the perfect CRM in React, you should by no means skip the second important step: market analysis. So what will it give you? Well, first, you’ll be able to drill down on the reality of where your CRM application is in today’s market.

Next, you can compare the expected functionality (idea, outline) with existing custom CRM applications. And in the end, you’ll know what areas you need to focus on and what is superfluous. A CRM designed this way will be competitive and help you transform customer engagement and other important KPIs.
Step 3. Master the Art of Building a CRM with React.js
So, put everything aside because the work on creating a perfect CRM in React has already begun. So, what’s the first thing to do?
✔️ Set up React. To do it, you need to create a template using the command create-react-app
✔️ Install Material UI. This framework will act as a UI library to speed up development.
✔️ Create a ContentTable component. You can use the Table component of the Material
UI to quickly create a pagination-enabled table since you need the Custom pagination actions. This step provides you with a separate component to handle pagination. You can put this feature in another component to make this process easier.
To create the first component, you must create a directory inside the src directory and name its components. The next step is to create another directory inside “components” and call it ContentTable. Next, you’ll need to create a ContentTable.js file of the same name inside it.
src/components/ListCustomer/ListCustomer.js
Next, you’ll need to copy the code for Table from the Material UI documentation and then go through your static array to populate the data in the table.
src/components/ContentTable/ContentTable.js
The code you see above probably won’t like the vagueness of TablePaginationActions, so it’s worth elaborating on this step. So, you’ll need to create a component to help you with Pagination. Material UI uses it on the same component as a demo, but taking it outside gives ContentTable more cleanliness. The next step is to create a directory in components, name it Pagination, and create an index.js file inside it.
src/components/Pagination/index.js
And now, you can import this Pagination component into a ContentTable component, as it will fix the error.
✔️ Create a Modal component. Congratulations! The first action in creating a CRM from scratch is done, and you already have a table ready. Now you should pay attention to the Modal component. It will be convenient if this modal pops up every time you click on any row in the table. You’ll need Material UI’s Modal component for that purpose.
Let’s say there are three columns in the modal:
- 1st column: detailed information about a particular client;
- 2nd column: notes about the client;
- 3rd column: adding a deal to the user and creating a task.
src/components/Modal/Modal.js
You can use the Grid layout from the Material UI to create the column structure. Then you should do some steps in the ContentTable component:
- Import the Modal component;
- Create a state to store the status of whether Modal is open;
- Third, create an onClick trigger on the table row;
- Finally, pass customer data to the Modal component.
Congratulations! You’ve gotten closer to completing the CRM process, as you’ve done the Modal configuration tasks.
src/components/ContentTable/ContentTable.js
Now try clicking on any row in the table. If the Modal you created appears, then you’ve done everything right.
So, you’ve got three props in the Modal component,
- Data: information about the client from a particular row;
- Open: the state that contains the boolean value of whether the modal is available or not;
- SetIsOpen: manipulating the value of “open.” And that’s what you’ll do next.
src/components/Modal/Modal.js
The modal should contain dynamic data depending on which line you clicked on.
✔️ Create the DetailsCard component. Great, you have managed to create a simple ready modal, but most likely, its appearance leaves much to be desired. To fix it, you must output the user’s data into a separate component. Then you need to create the DetailsCard directory inside the component and create DetailsCards.js. After that, you can use the Material UI card component.
src/components/DetailsCard/DetailsCard.js
What else is left to do? The next step is to import and pass the customer data as props into the Modal component.
src/components/Modal/Modal.js
So, you’ve used the received props.
src/components/DetailsCard/DetailsCard.js
Double-check your steps to make sure your result is correct. Great! You’re almost done. Before you start working with the notes, you should take care of creating the backend since you will be storing the notes in a database to save the data.
Now it’s time to get the API ready!
Getting an API for a CRM application is not particularly difficult. And the steps you’ll need to take are minimal. Just clone a production-ready project on Canonic, and that’s it. It gives you the backend, API, and documentation to integrate without writing code. Then you’ll have to create customer records on the CMS by copying the content from the customer statistics array you created.
Backend Integration With GraphQL
Finally, it’s time to integrate and install GraphQL packages.
✔️ Install GraphQL packages. You’ll need Apollo Client and GraphQL to retrieve data from the backend.
✔️ Configure GraphQL to communicate with the backend. Set up the Apollo client in the project directory. Next, inside the index.js, configure your Apollo client to communicate with the backend.
src/index.js
✔️ Query the data. To query data, you need to create a gql directory inside src. Then you make a query.js file in the directory, where you write all the information you need from the backend.
src/gql/query.js
✔️ Distribute the API data. The next step is to distribute the data to the ContentTable component. To do this, you’ll need to replace the static client array you had with the code you’ll get from the API. You will then need to return any links made to the static array with dynamic data.
src/components/ContentTable/ContentTable.js
All of the above changes are necessary to integrate the Canonic backend. Next, the focus shifts to creating the Notes component.
✔️ Create the Notes component. First, you’ll need to prepare the Modal component to display notes. In the Modal component, you must do the following:
- Create a state to store all of our notes;
- Create a state to display the status when a text box is opened to add a new note;
- Create a button to toggle between displaying notes and adding a note.
Next, you import the Notes component before you create it and enter the data. That way, when you make the component, you already have the data to work with it.
src/components/Modal/Modal.js

The next step is to add Mutation to send new notes to your API. Now go back to the GQL directory and create a file called Mutation.js.
src/gql/mutation.js
This mutation will update the database with a new note every time it is created. Now it’s time to create the Notes component. To do this, you must create a directory within the components and name it Notes. Then proceed to create a file inside it and name it Notes.js.
src/components/Notes/Notes.js
It is where you will need to update the display Notes state when you update the database with the mutation. This way, the component updates, and you’ll see the new note immediately.
✔️ Create a Deals component. You’ll have a drop where you can set any deal for a customer. The information will be updated in the database. The next step is to go to the mutation.js file in the gql directory.
src/gql/mutation.js
It’s worth starting here by creating the Deals component. First, you must create a directory inside the components and name them Deals. Then proceed to make a file inside it and call it Deals.js. The flow is kept pretty much the same as in Notes. However, here you expect the _id prop from Modal. Then it would help if you imported it.
src/components/Modal/Modal.js
Great, your Deals component is ready.
✔️ Create a Ticket component. The task of this component is to create a POST request to the Asana API whenever you enter a ticket name. To do this, you should use the task creation API, for which you’ll need a Title and a specific workspace, projects, or parent.
src/components/Tickets/Tickets.js
You won’t need to pass props from Modal to the Ticket component, so import them.
src/component/Modal/Modal.js
Great, now you have the Tickets component ready.
✔️ Create a Header component. It will take the form of a simple App bar to display a bar at the top of the page with the Header of your project. Then create a directory inside the component and name it Header. After that, create a file inside the directory and name it Header.js.
src/components/Header/Header.js
Yay, that’s almost done. The following action is to import Header.js into the index.js file.
src/index.js
That’s it. Now you can be congratulated on the final job well done.