How to host one-page generated on the Flatlogic Platform applications on Google Cloud
First, what you need to create one-page application using Flatlogic Platform. Tap here and let’s go!
Working with GitHub
If you didn't connect the GitHub repository when you were creating the app, you can connect it in the Settings tab by clicking on the Push to GitHub button.

The ‘Login’ window opens next, where you need to enter login details for your GitHub account or sign in.
Next, the ‘Choose a name for your repository’ window opens, where you have to choose a name for your repository and select privacy terms.
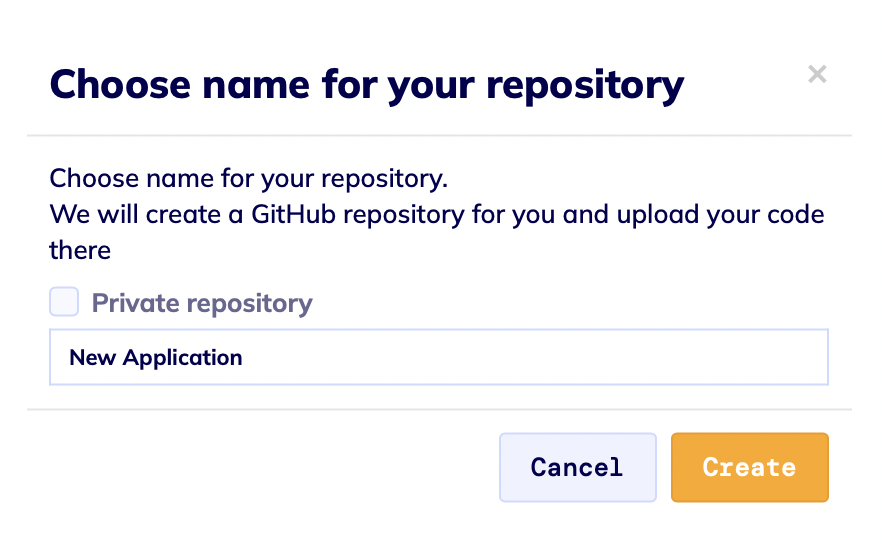
After this step, the Flatlogic Bot creates a GitHub repository for you and uploads your code there. Afterwards, you can work with the platform or with your GitHub repository.
Also, you can make changes to your code in your GitHub repository. But make sure you’re working on the right bench.
GitHub is connected to Flatlogic hosting, all deployments go directly from there. There are two branches: master & generated. Master - is for you to make changes directly in the source code. Generated is for Flatlogic Bot to make changes to the generated code. You can initiate a Flatlogic Bot commit by pressing on push to GitHub button after making changes to the app. After this, you need to create a pull request and merge generated branch into the master. It is better not to work with the Generated branch and leave it to Flatlogic Bot.
To clone your project to your IDE, click on the green button Code and the pop-up menu click on 

Next, go to your IDE and on the starter page click on Clone Git Repository…

Paste the copied Git Repository and Enter.

Next, you will see the pop-up ‘Would you like to open the cloned repository?’, please, choose how would you like to open your project.


Working with IDE
Next, go to the terminal of your IDE and write the next commands to build your application:
cd frontend
yarn install
yarn build
The last command is very important because from now on we only need to work in google cloud with the build folder.
Working with Google Cloud
Next, go to the google cloud platform, and go to the Cloud Storage page.
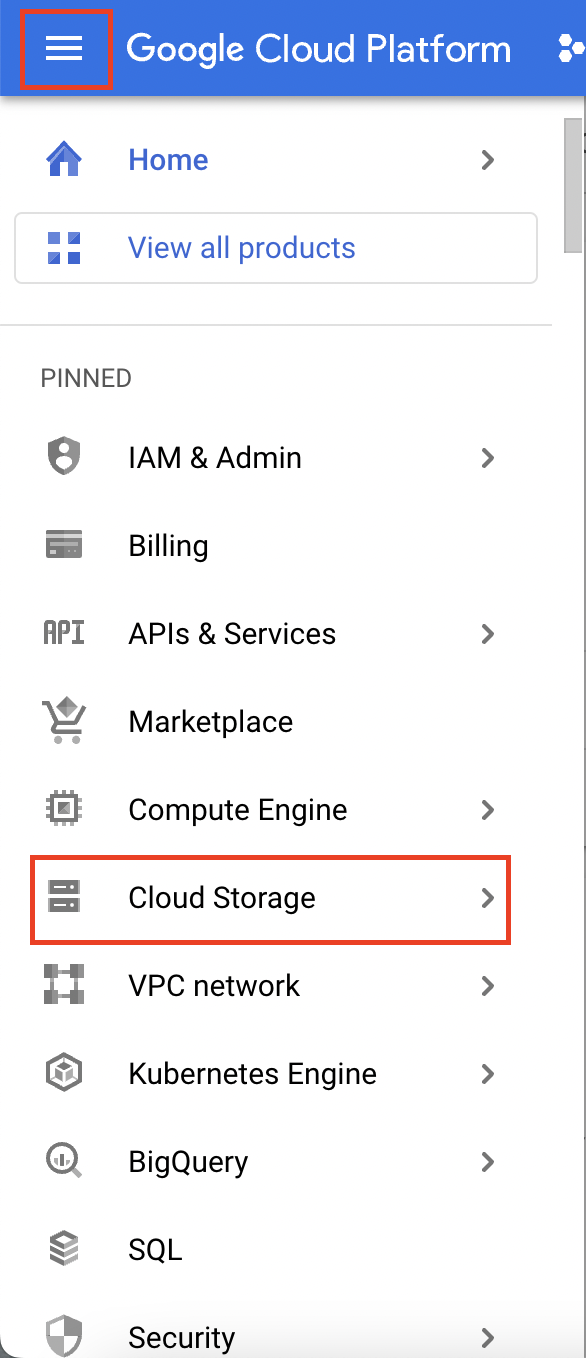
And, next, click on CREATE BUCKET button and you will be redirected to the creating bucket page.

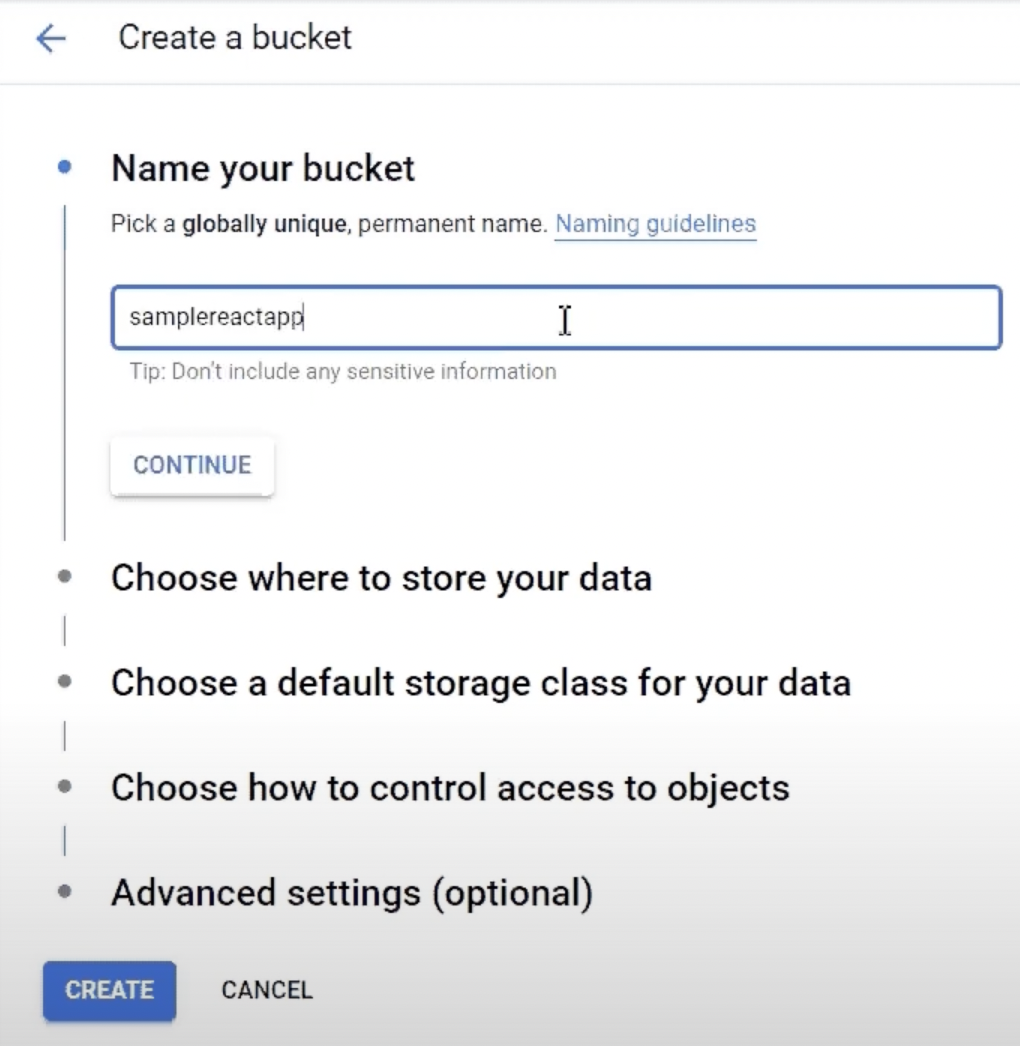
Afterwards, when you’re already redirected to the creating bucket page, you need to go through the next steps:
Name your bucket
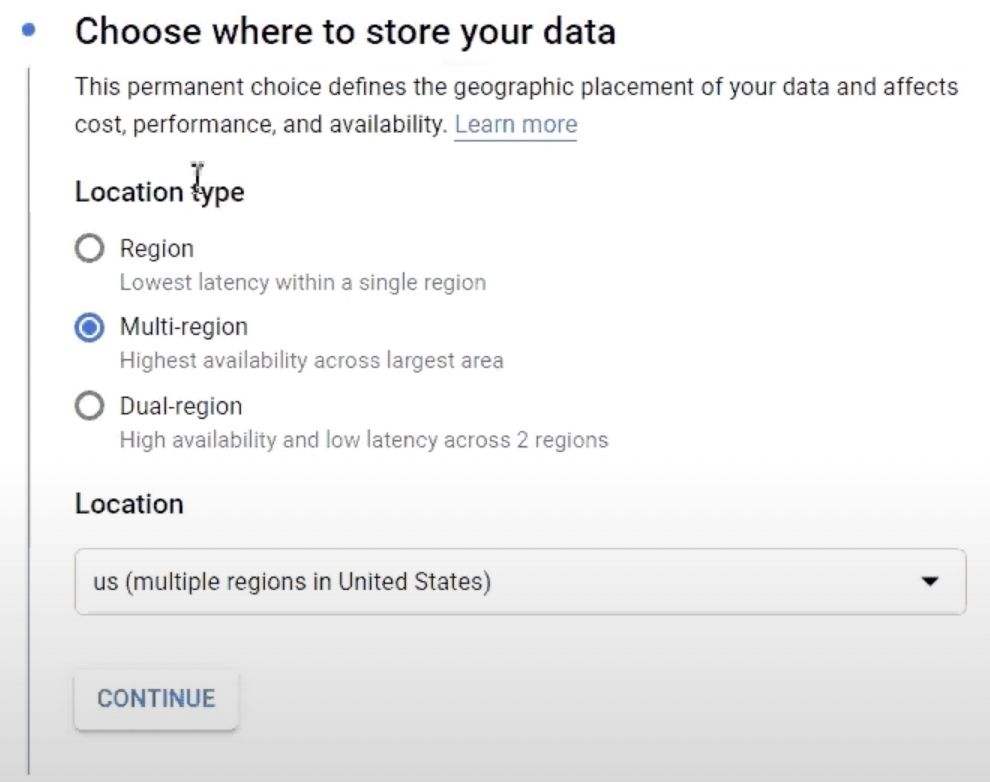
Choose where to store your data
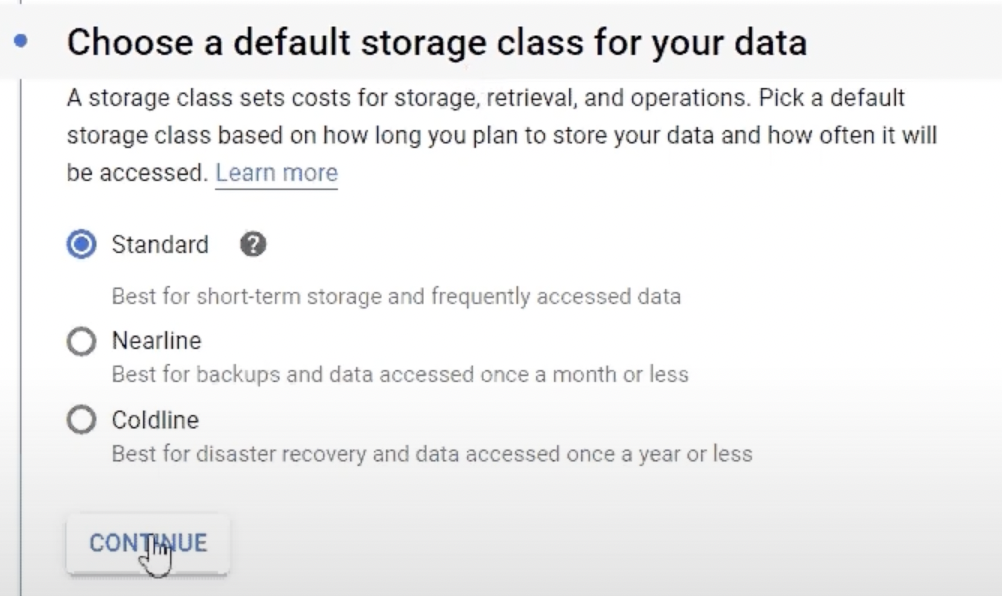
Choose a default storage class for your data
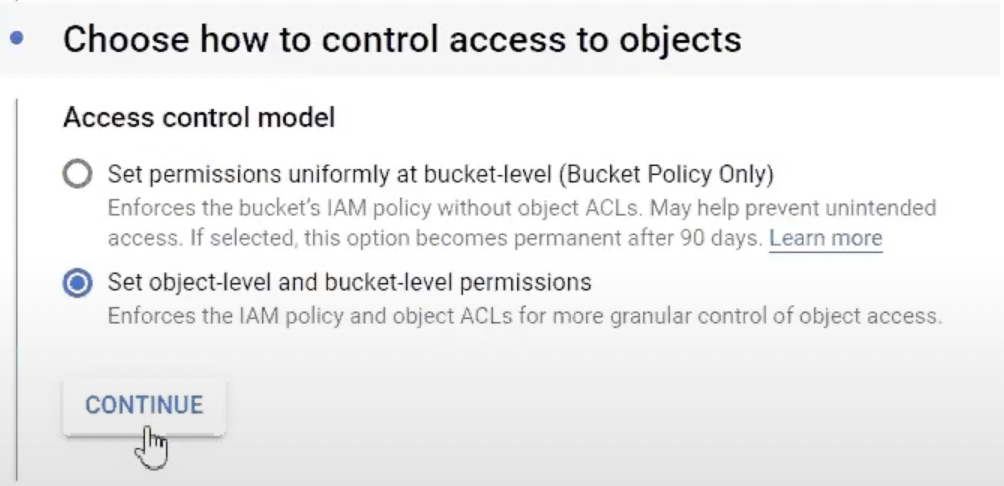
Choose how to control access to objects
Advanced settings (optional)
So, at the first step, please, pick a globally unique name for your bucket and go Continue.
Next, choose the region where you want to store your data.
The next step is Сhoose a default storage class for your data or skip this step by the Continue button.
The next step is Сhoose how to control access to objects or skip this step by the Continue button.
The next step is Advanced settings which you can skip by the Continue button.

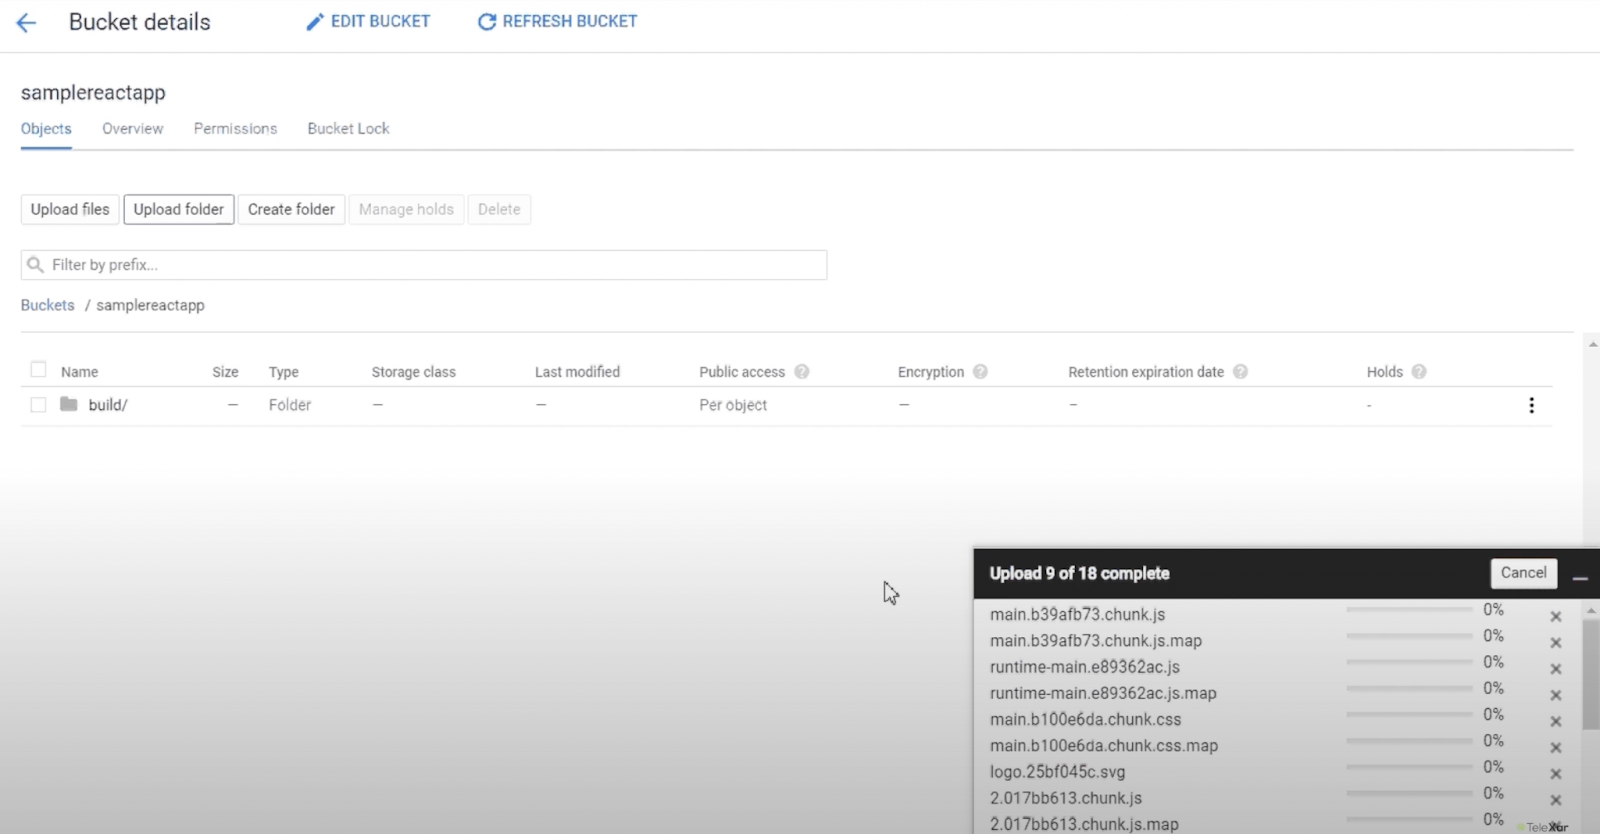
Next, you will be redirected to your bucket. Please upload your project’s build folder.
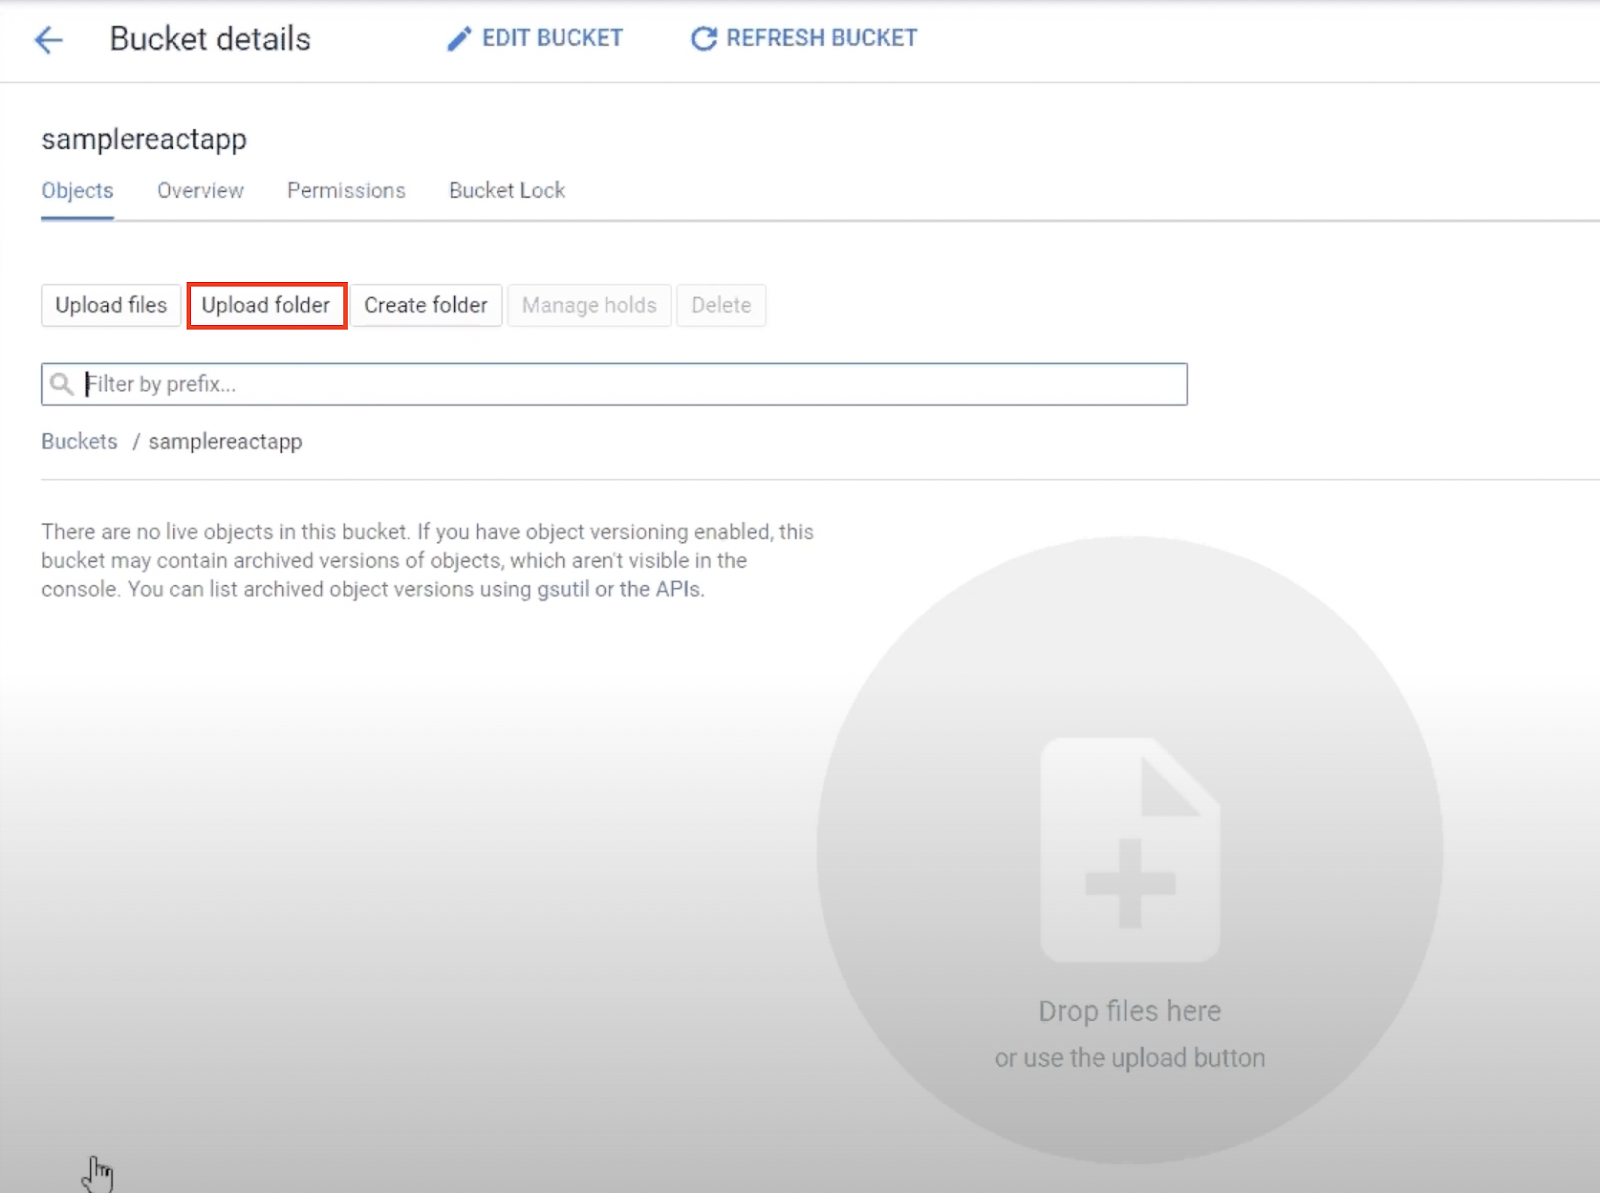
Wait until it will be uploaded to your bucket.
Next, go to your IDE, create in your application directory ./frontend/ create an app.yaml file and inside that paste next code:
``` runtime: nodejs10 handlers:
Serve all static files with urls ending with a file extension
- url: /(...+)$ static_files: build/\1 upload: build/(...+)$ # catch all handler to index.html
- url: /.* static_files: build/index.html uploud: build/index.html ```
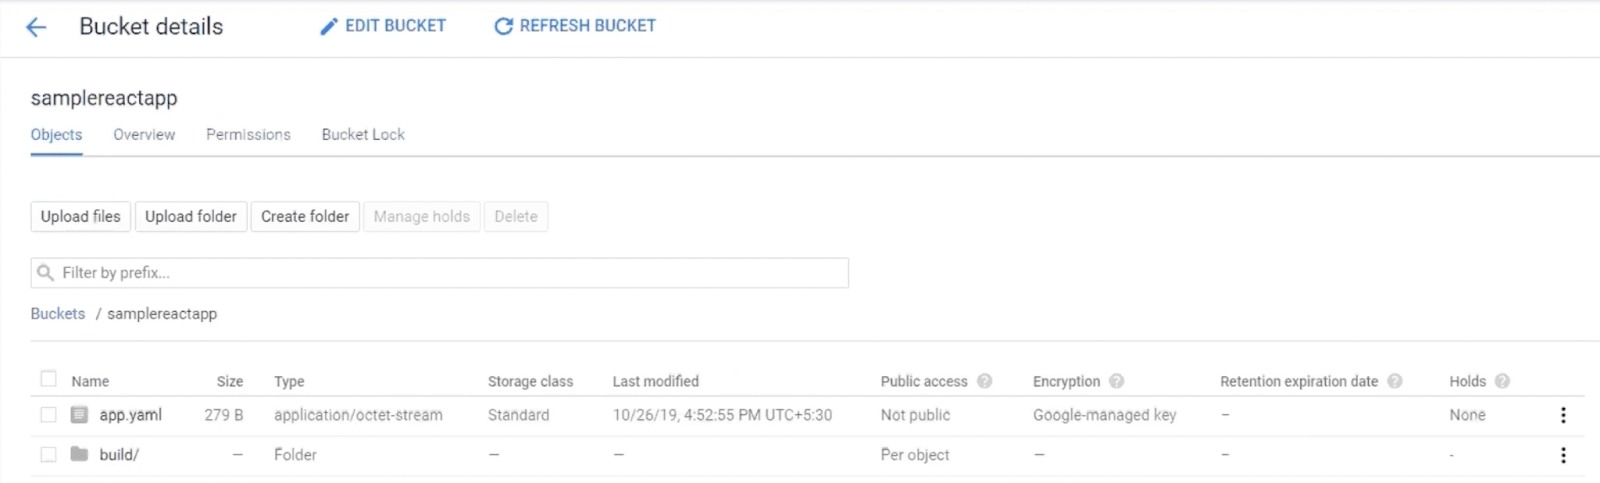
Afterwards, you need to go back to the google cloud and upload this app.yaml file to your bucket as well.

Go to the Activate Cloud Shell.

Afterwards, the cloud shell console will be opened, with the message what you need to do next is to set your Cloud Platform project using the next command: gcloud config set project [PROJECT_ID]

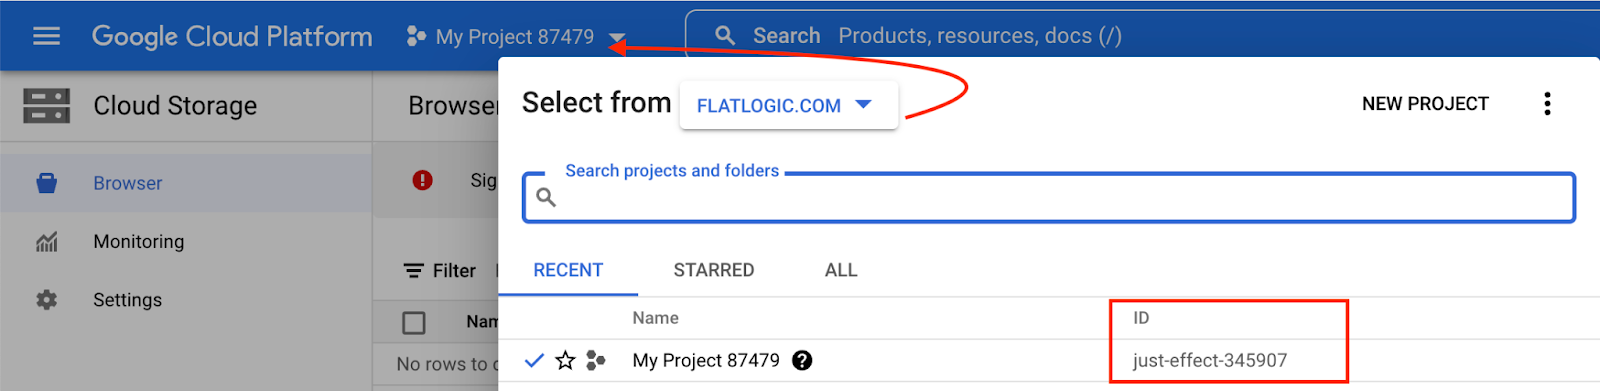
The project ID you can find by clicking on in upper menu on the name of your project, which will open the pop-up window with the table of your all projects, and next you need to copy everything that is in the ID column.
Next, you will set to your project, next type:
mkdir react-app
gsutil rsync -r gc://samplereactapp ./react-app
Where are samplereactapp - your bucket name, and react-app - your directory name
cd react-app
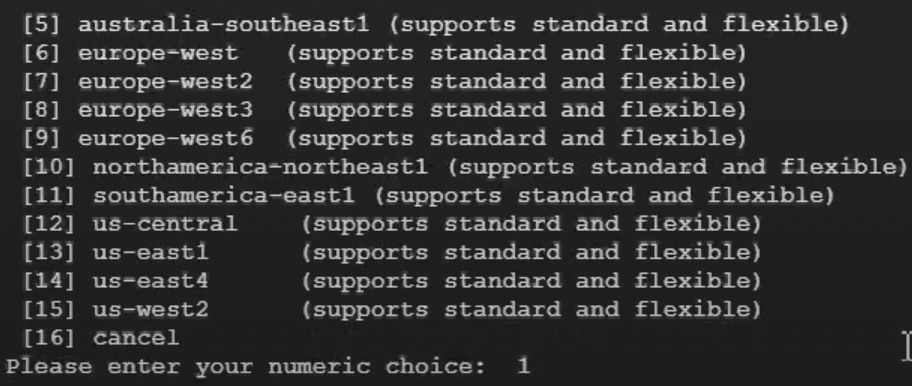
gcloud app deploy
Next, the console asked you about your numeric choices, you can run 1.
Please, wait a little bit.

Next, type Y to continue.

Copy the link of your hosted application and paste it to your browser line or type the next command to the cloud shell console which will browse your application.
gcloud app browse

Congratulation! Your application is hosted on the Google Cloud Platform.